
Clearance Lights on TT Mirrors
#31
 09-15-2009 | 10:42 AM

Thread Starter
|
Technical Article Contributor
Joined: Sep 2006
Posts: 889
Likes: 0
From: Hattiesburg, MS

#32
09-22-2009 | 10:05 PM
Thread Starter
|
Technical Article Contributor
Joined: Sep 2006
Posts: 889
Likes: 0
From: Hattiesburg, MS
the first day, i spend 6 hours working on the driver mirror in my house, and came up with there is no way possible to route a new wire for the parking/clearance light. plus i didnt want to have to run a new wire to the door, so u sacrificed the puddle lights. i rather have a clearance light than a puddle light. i found the puddle light wire under the driver and pass door seals and tapped that to the main headlight connector in the pin 5 wire, brown. that is the one that blinks with the parking lights at you lock and such.
so if you dont want to lose your puddle lights, then you might only get a turn signal.
here are a few pics to help those who want to do this. pics came from my blackberry so they are not the best. also, i didnt finsh getting all pics i wanted. phone died. i will get better night and day pics tomorrow with my wifes camera.
first, start by removing the top glass by inserting a screw driver from under the mirror to the tab you see below and twist. the glass will pop out at that corner so you can insert the screw driver further to release the other 3 tabs, 4 total.

now for the bottom spot mirror, tilt it up and outward. same tabs as the above glass.

now for the 5 torx 20 screws. im pointing to 2 in the top, and there is one more in the top left corner. 3 total in top

there are 2 more behind the lower mirror.

so if you dont want to lose your puddle lights, then you might only get a turn signal.
here are a few pics to help those who want to do this. pics came from my blackberry so they are not the best. also, i didnt finsh getting all pics i wanted. phone died. i will get better night and day pics tomorrow with my wifes camera.
first, start by removing the top glass by inserting a screw driver from under the mirror to the tab you see below and twist. the glass will pop out at that corner so you can insert the screw driver further to release the other 3 tabs, 4 total.
now for the bottom spot mirror, tilt it up and outward. same tabs as the above glass.
now for the 5 torx 20 screws. im pointing to 2 in the top, and there is one more in the top left corner. 3 total in top
there are 2 more behind the lower mirror.
Last edited by labman1014; 09-23-2009 at 12:06 PM.
#33
09-22-2009 | 10:12 PM
Thread Starter
|
Technical Article Contributor
Joined: Sep 2006
Posts: 889
Likes: 0
From: Hattiesburg, MS
now you can spread the 2 halfs apart, but only this much!!

next, pop out the turn signal.

now it is time to measure and mark the location for the light. here i used a straight edge and traced out the 2 front groves of the mirror but stopped 3/4in from the vertical joint of the 2 halfs. connect the dots.

next i centered the light on the line and marked the screw holes and wire hole. remember, measure 2, drill once!!

next, pop out the turn signal.
now it is time to measure and mark the location for the light. here i used a straight edge and traced out the 2 front groves of the mirror but stopped 3/4in from the vertical joint of the 2 halfs. connect the dots.
next i centered the light on the line and marked the screw holes and wire hole. remember, measure 2, drill once!!
Last edited by labman1014; 09-23-2009 at 11:51 AM.
#34
09-22-2009 | 10:23 PM
Thread Starter
|
Technical Article Contributor
Joined: Sep 2006
Posts: 889
Likes: 0
From: Hattiesburg, MS
#35
09-22-2009 | 10:30 PM
Thread Starter
|
Technical Article Contributor
Joined: Sep 2006
Posts: 889
Likes: 0
From: Hattiesburg, MS
ok, here is where i run out of pics, but it is pretty easy and straight forward.
need to pop out the puddle light. need to insert a lil screw driver on the side with the indention, while you take a long screw driver through the lower mirror hole to push the puddle light out. there are 2 wires on the puddle light and they do the same thing. cut the connector off, and cap one off. the other goes to the black wire of the new light. that is now the parking/clearance light. next, you tap into the turn signal wire. it has 2 also and the green/white stripe wire is the power that goes to the red wire of the new light for the turn signal and the other is black and it goes to the white wire of the new light for the ground.
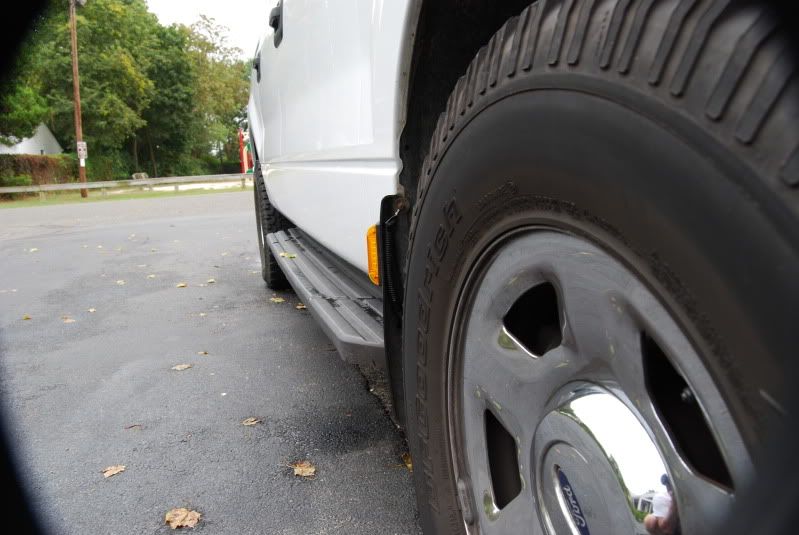
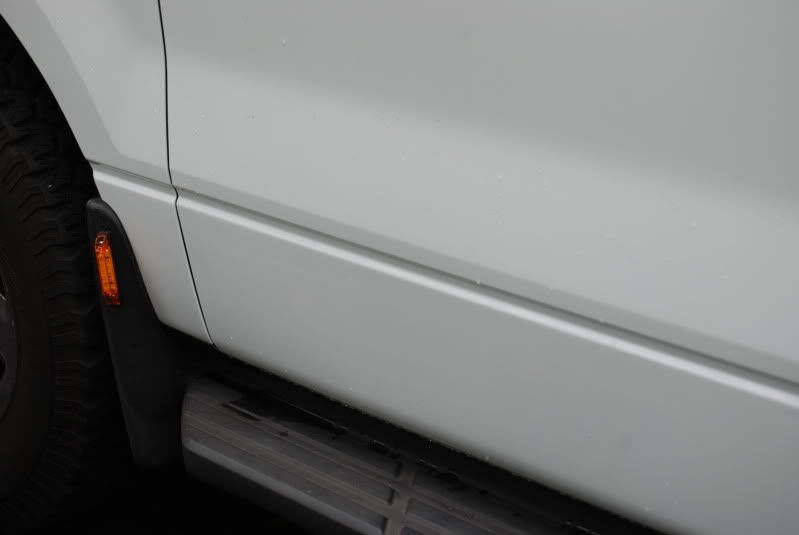
ok, went out and got some pics today of where i found the puddle lights under the drivers and pass door seals and where i tapped into the parking light wire at the headlight switch.
driver:

pass:

headlight switch:

now test!!

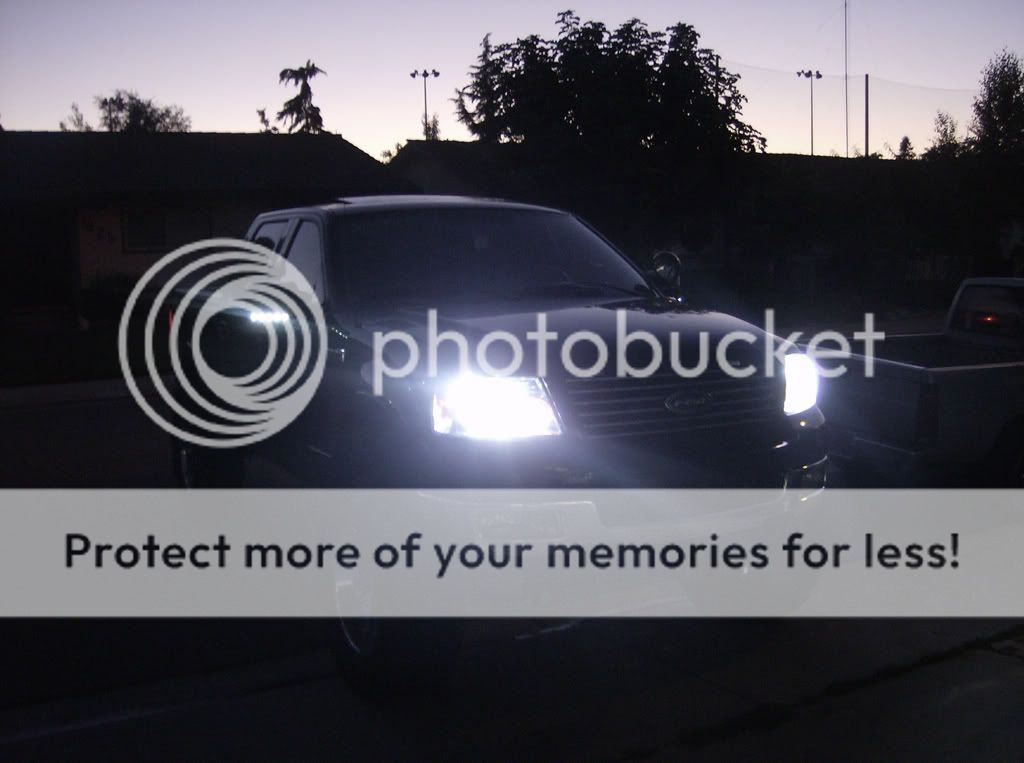
if all works, put everything back in reverse order. while i was wiring, i charged my phone a lil and got a final shot with both working. not the best but i will get more tomorrow!!

need to pop out the puddle light. need to insert a lil screw driver on the side with the indention, while you take a long screw driver through the lower mirror hole to push the puddle light out. there are 2 wires on the puddle light and they do the same thing. cut the connector off, and cap one off. the other goes to the black wire of the new light. that is now the parking/clearance light. next, you tap into the turn signal wire. it has 2 also and the green/white stripe wire is the power that goes to the red wire of the new light for the turn signal and the other is black and it goes to the white wire of the new light for the ground.
ok, went out and got some pics today of where i found the puddle lights under the drivers and pass door seals and where i tapped into the parking light wire at the headlight switch.
driver:
pass:
headlight switch:
now test!!
if all works, put everything back in reverse order. while i was wiring, i charged my phone a lil and got a final shot with both working. not the best but i will get more tomorrow!!
Last edited by labman1014; 09-23-2009 at 03:46 PM.


#38
09-23-2009 | 11:40 AM
Thread Starter
|
Technical Article Contributor
Joined: Sep 2006
Posts: 889
Likes: 0
From: Hattiesburg, MS
as far as the pics, i dont know how to resize them. they were taken with my blackberry and uploaded straight to my gallery here, then to the thread. if someone will tell me how to make them bigger, please do!!
edit--nevermind on the larger pics, i fixed it!!
Last edited by labman1014; 09-23-2009 at 11:55 AM.
#39
09-23-2009 | 12:16 PM
yea, i wasnt thinking when i posted all that here. it took a while, but hopefully i can just copy and paste and i will start a thread down there.
as far as the pics, i dont know how to resize them. they were taken with my blackberry and uploaded straight to my gallery here, then to the thread. if someone will tell me how to make them bigger, please do!!
edit--nevermind on the larger pics, i fixed it!!
as far as the pics, i dont know how to resize them. they were taken with my blackberry and uploaded straight to my gallery here, then to the thread. if someone will tell me how to make them bigger, please do!!
edit--nevermind on the larger pics, i fixed it!!
#41
09-23-2009 | 03:11 PM

Technical Article Contributor
Joined: Apr 2005
Posts: 893
Likes: 2
From: New York


#43
09-23-2009 | 10:14 PM
Thread Starter
|
Technical Article Contributor
Joined: Sep 2006
Posts: 889
Likes: 0
From: Hattiesburg, MS
all i need to get is my cab lights and i will be set!!!
#44
09-24-2009 | 12:50 AM

Senior Member

Joined: Jan 2005
Posts: 6,494
Likes: 1
From: Northern CA
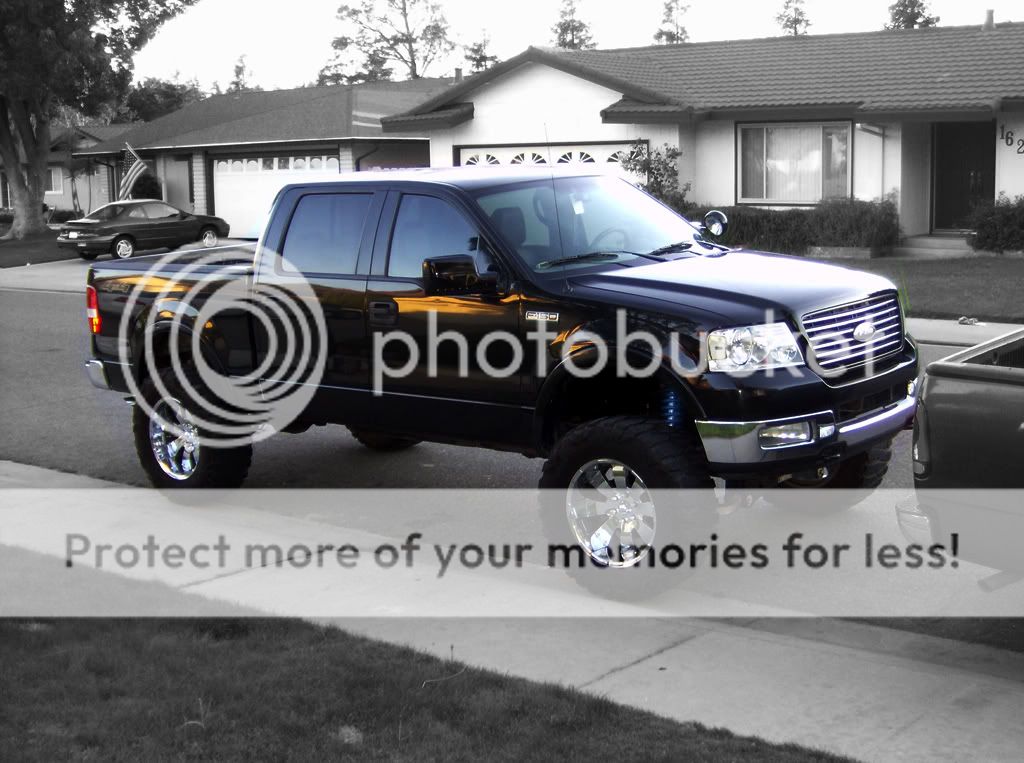
Looking good guys! Here was mine, thanks for the shoutout too
http://s68.photobucket.com/albums/i4...t=skitrip2.jpg
http://s68.photobucket.com/albums/i4...t=skitrip2.jpg