
PTM Project and some extras
#1
 06-06-2015, 07:15 PM


Join Date: Mar 2008
Location: Mesquite
Posts: 2,077
Likes: 0
Received 0 Likes
on
0 Posts
PTM Project and some extras
This is my PTM project thread. I know there are tons of how-to's on this so I am not going into details on how to do it but I will detail my steps and materials for posterity.
PTM Items:
Mirror Caps
Both door handles
Tailgate handle
Mirror turn signal fillers
Front and rear "FORD" emblems
Both fender "F150" emblems
Tailgate "F150" emblems
I bought all new parts except the badges and emblems so I would minimize my downtime with my truck. Once I install them I am passing my old ones to a friend for his truck and he will give me his old stuff to sell.
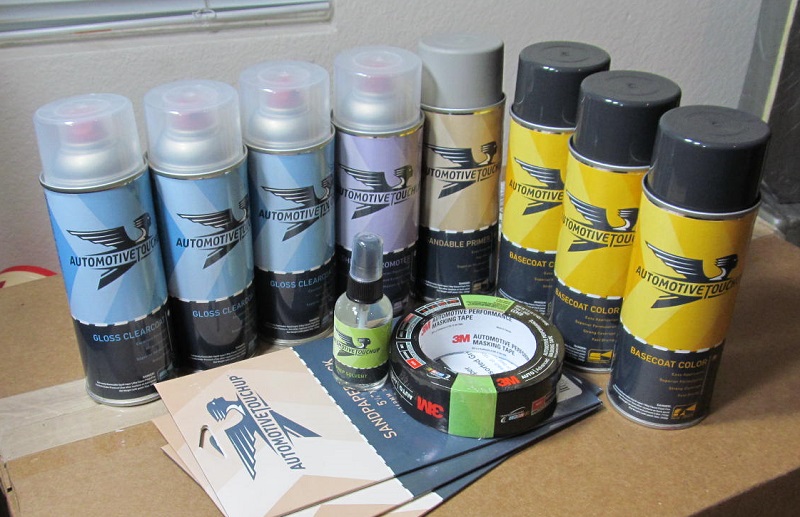
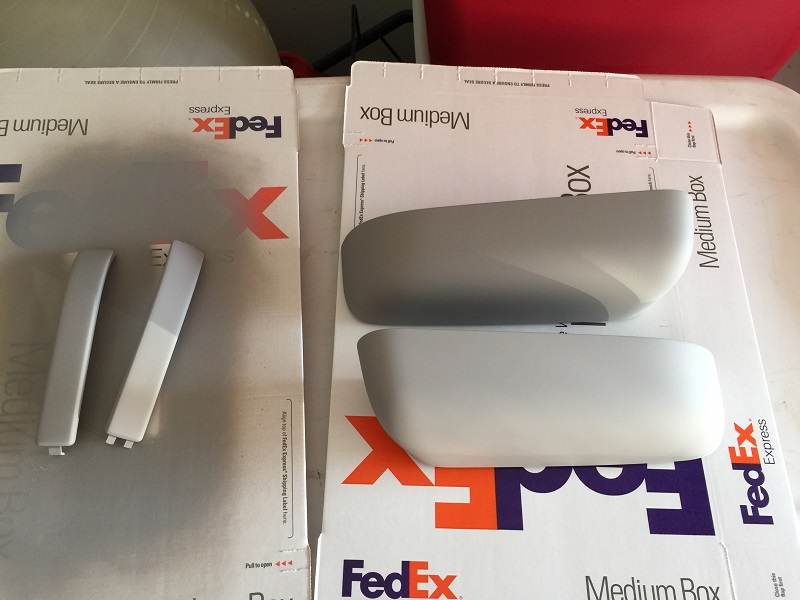
I am sanding, cleaning, using adhesion promoter, primer, color matched basecoat, clearcoat, and a bunch of sanding in there. All from Automotive Touchup.
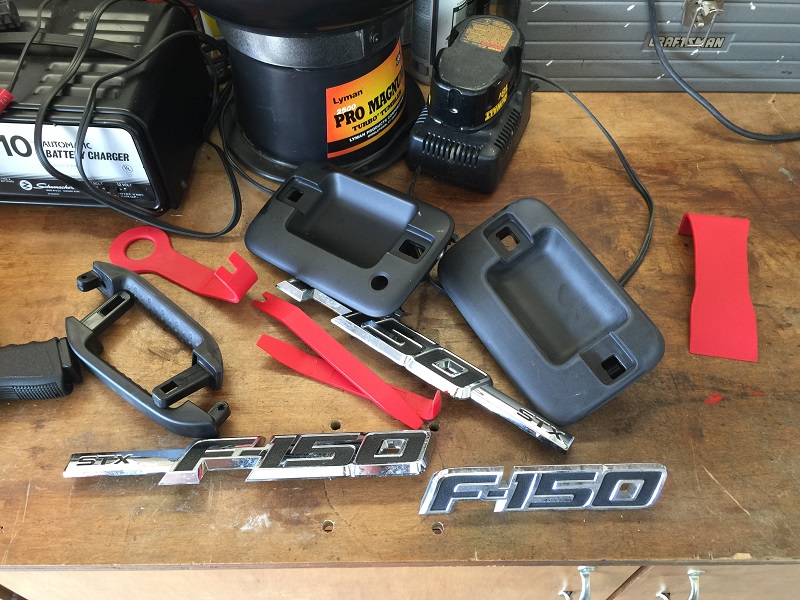
I have all the badges off and separated. I am about halfway done sanding the handles and mirror pieces now that I found my palm sander. My carpal tunnel only lets me sand in short durations so this will not be a fast process. I will work on it daily and keep this updated with pics.
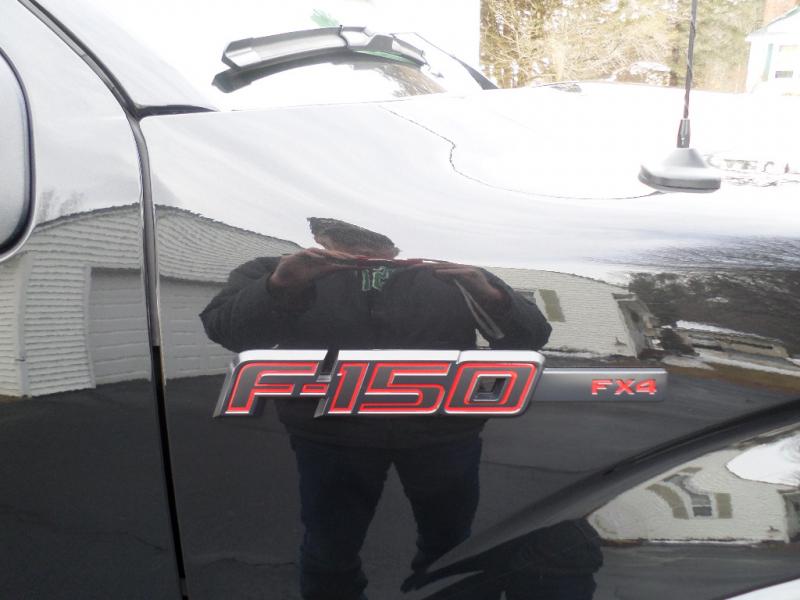
The "F150" badges and the "Ford" emblems are going to be Tuxedo black with some vinyl work from Moody Blue to finish em off. I still need to figure out how to get the entire "Ford" emblem off the tailgate, but I am working on that now.
This will eliminate the last of the chrome on my truck. Moody Blue is going to make me some special "STX Blackout" bedside decals but I have not decided yet if I want to use them.
And the firsts pics:
Materials:
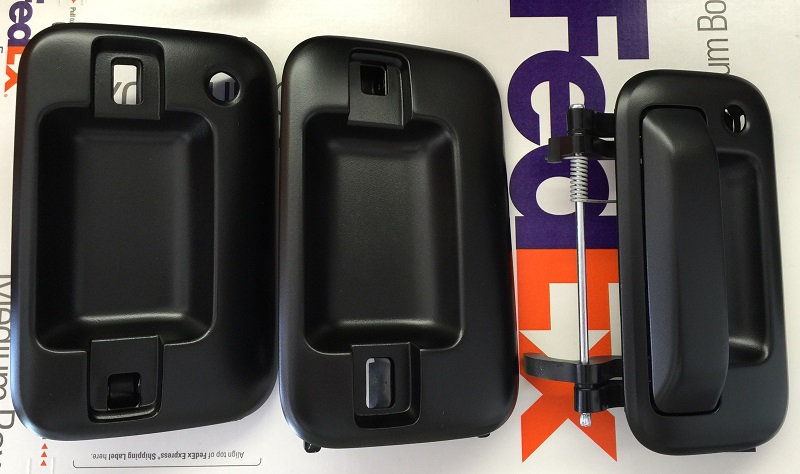
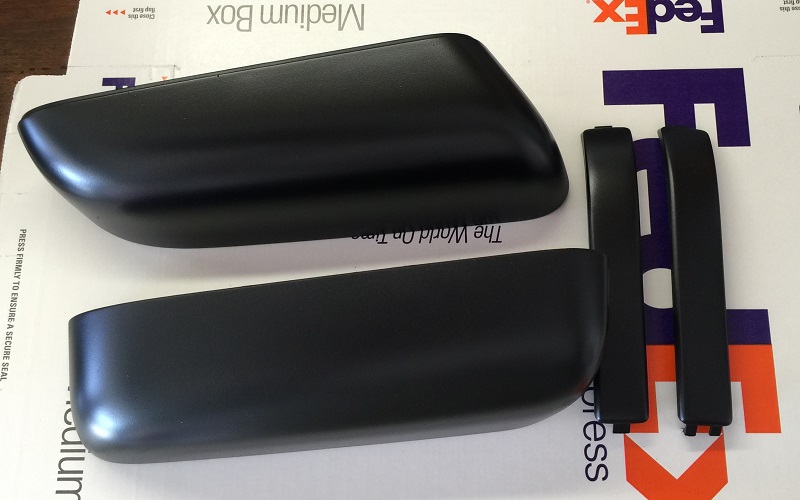
Parts:
More updates soon.
PTM Items:
Mirror Caps
Both door handles
Tailgate handle
Mirror turn signal fillers
Front and rear "FORD" emblems
Both fender "F150" emblems
Tailgate "F150" emblems
I bought all new parts except the badges and emblems so I would minimize my downtime with my truck. Once I install them I am passing my old ones to a friend for his truck and he will give me his old stuff to sell.
I am sanding, cleaning, using adhesion promoter, primer, color matched basecoat, clearcoat, and a bunch of sanding in there. All from Automotive Touchup.
I have all the badges off and separated. I am about halfway done sanding the handles and mirror pieces now that I found my palm sander. My carpal tunnel only lets me sand in short durations so this will not be a fast process. I will work on it daily and keep this updated with pics.
The "F150" badges and the "Ford" emblems are going to be Tuxedo black with some vinyl work from Moody Blue to finish em off. I still need to figure out how to get the entire "Ford" emblem off the tailgate, but I am working on that now.
This will eliminate the last of the chrome on my truck. Moody Blue is going to make me some special "STX Blackout" bedside decals but I have not decided yet if I want to use them.
And the firsts pics:
Materials:
Parts:
More updates soon.
#2
06-07-2015, 08:41 PM
Join Date: Mar 2008
Location: Mesquite
Posts: 2,077
Likes: 0
Received 0 Likes
on
0 Posts
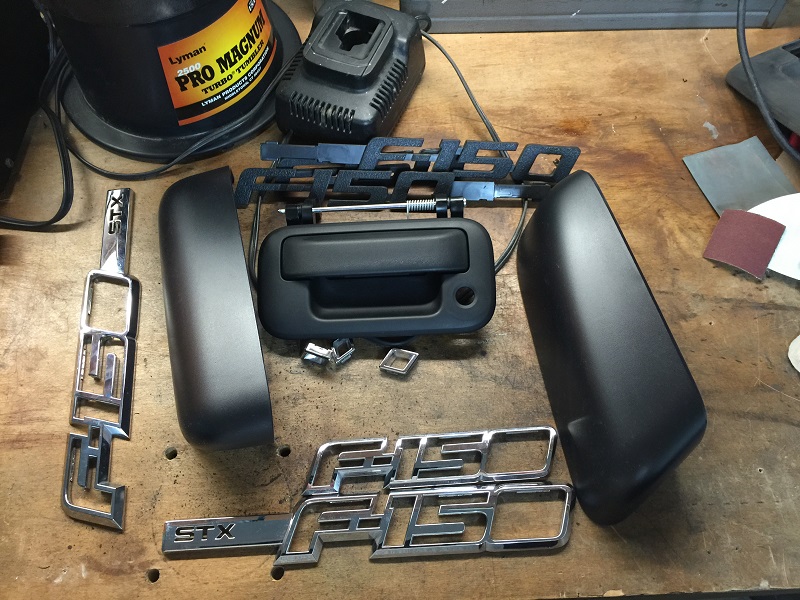
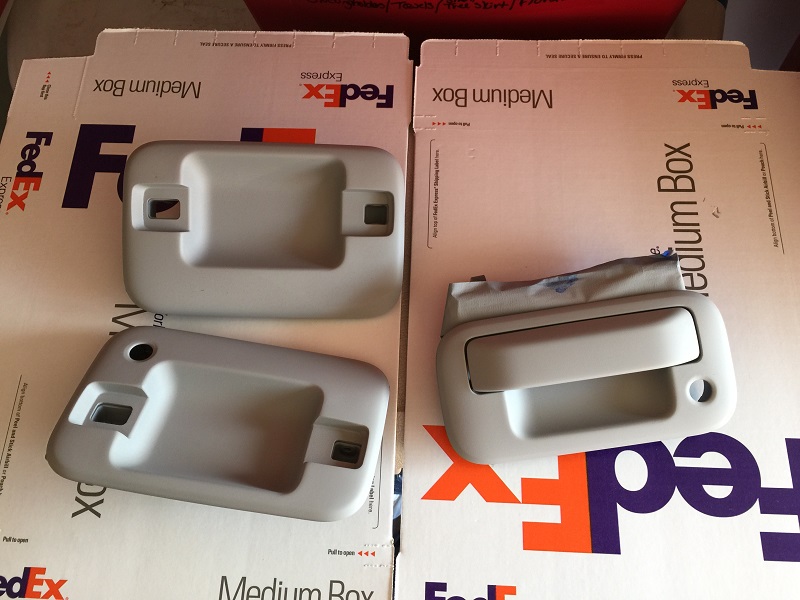
Some plans got cancelled today so I had alot of time to spend on this project. I finished sanding the parts, sprayed 2 coats of adhesion promoter and 2 coats of sandable primer. They are almost perfectly smooth. I decided to call it a day and let the primer cure really good before progressing to the basecoat. Pics as promised.
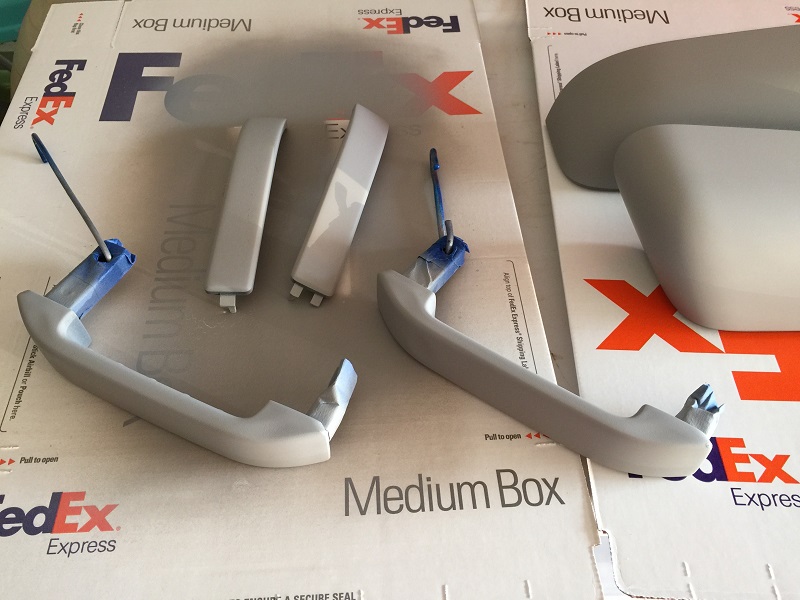
I am going to try to put down the basecoat tomorrow or atleast the first coat.
I also cleaned up the chrome and black badges. I am trying to decided how I want to handle the chrome. Not sure I want to sand it or try treating it chemically. More to come soon
I am going to try to put down the basecoat tomorrow or atleast the first coat.
I also cleaned up the chrome and black badges. I am trying to decided how I want to handle the chrome. Not sure I want to sand it or try treating it chemically. More to come soon


#4
06-08-2015, 07:45 AM
Join Date: Mar 2008
Location: Mesquite
Posts: 2,077
Likes: 0
Received 0 Likes
on
0 Posts
Wow, that does look really good. How much sanding is involved? The texture looks pretty deep. I had planned to sand a little of it off. My original thought was to cover the insert in black chrome vinyl and spray the chrome to match the truck and I wanted the vinyl to not crack later due to the texture. But, the Black Chrome was hard to find and a bit expensive so I have opted to go Satin Black on the grill/tailgate emblems and the F150 badges. I think I am going to try to dissolve the chrome off though. I found a few ideas on how to go about that and I think the paint will still stick better that way. I really don’t want to be redoing these in a few years. I am going to start on a small piece tonight and see how it goes.
Last edited by Blue150; 06-08-2015 at 07:49 AM.
#5
06-08-2015, 08:57 AM
The inserts are soft plastic so the texture sands off pretty easy. I used a vibrating palm sander to speed up the process.
I painted my inserts and applied vinyl inserts over them to try to match my bed side decals. Fortunately I started out with the Appearance Pkg. F150 emblems so I didn't have to mess with chrome. They were already black.

I painted my inserts and applied vinyl inserts over them to try to match my bed side decals. Fortunately I started out with the Appearance Pkg. F150 emblems so I didn't have to mess with chrome. They were already black.

#7
06-08-2015, 09:55 AM
Join Date: Mar 2008
Location: Mesquite
Posts: 2,077
Likes: 0
Received 0 Likes
on
0 Posts
Trending Topics
#8
06-08-2015, 11:28 AM
Unfortunately he closed the shop and moved away. Someone else just opened a vinyl shop at the same place. I haven't been in there yet so I don't know what he does or how good he is.
#9
06-08-2015, 11:32 AM
Join Date: Mar 2008
Location: Mesquite
Posts: 2,077
Likes: 0
Received 0 Likes
on
0 Posts
#10
06-08-2015, 01:42 PM
Do you have the Ford ovals that come apart and can be painted?
The sterling grey/matte black one isn't mine. There's a guy on another forum that paints them.
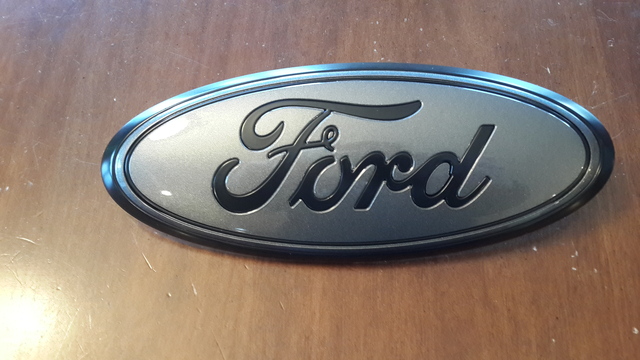
I screwed one of mine up (broke a piece), plastic bonded them up (converted them to 1 piece), then painted them tuxedo black, applied red overlays with no background, then I built up the clearcoat about 1/16" with my spray gun, wet sanded and buffed them. I built up the clear so after I sanded them you wouldn't be able to feel the outline of the red vinyl under the clear.
#12
06-09-2015, 06:33 PM
Join Date: Mar 2008
Location: Mesquite
Posts: 2,077
Likes: 0
Received 0 Likes
on
0 Posts
#13
06-10-2015, 07:00 PM
Join Date: Mar 2008
Location: Mesquite
Posts: 2,077
Likes: 0
Received 0 Likes
on
0 Posts
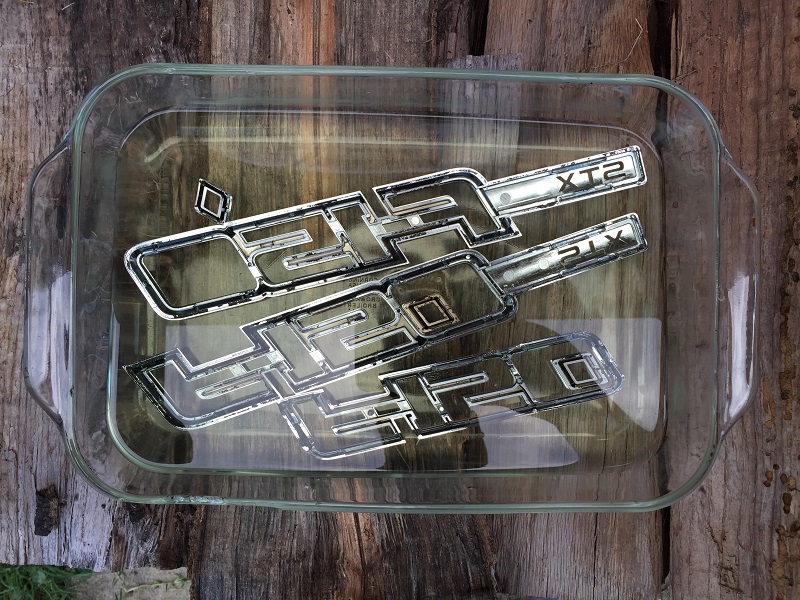
Progress report. I think the bleach got neutralized overnight. Alot of the chrome came off but what is underneath is very rough. I cleaned them up, replenished the bleach and have them sitting outside again. At this point if they are ruined I have nothing to lose so I am going for broke. If they are ruined then I will replace them with the Black and red FX2 badges and just get rid of the red.
#14
06-13-2015, 06:23 PM
Join Date: Mar 2008
Location: Mesquite
Posts: 2,077
Likes: 0
Received 0 Likes
on
0 Posts
Weird...I remember posting the outcome but its gone. Oh well, The chrome pieces did not survive. I trashed them. I am ordering the FX2 black/red ones and donating the red inserts to a friend who wants them.
Anyway, I got the primer wet sanded, cleaned up and got 3 coats of base color down. Truth be known, I am a bit concerned. The primer was super smooth but the color seems to be really rough and almost textured. I am going to let them cure till Monday and then wet sand and then 3 coats of clear. When I first applied the Tuxedo Black it looked good int he sun. A perfect match. But now that all 3 coats are done it hardly has any sparkle at all. I hope sanding and clear changes that. I accidentally left the handles out of the pics. Did not realize it until just now. They were hanging up so out of sight, out of mind. But they look as good as these do.
Anyway, I got the primer wet sanded, cleaned up and got 3 coats of base color down. Truth be known, I am a bit concerned. The primer was super smooth but the color seems to be really rough and almost textured. I am going to let them cure till Monday and then wet sand and then 3 coats of clear. When I first applied the Tuxedo Black it looked good int he sun. A perfect match. But now that all 3 coats are done it hardly has any sparkle at all. I hope sanding and clear changes that. I accidentally left the handles out of the pics. Did not realize it until just now. They were hanging up so out of sight, out of mind. But they look as good as these do.
#15
06-13-2015, 07:38 PM
Senior Member