Through the base coat test...
#1
 05-01-2008, 01:02 AM


Join Date: Aug 2005
Location: Keller Texas
Posts: 4,812
Likes: 0
Received 0 Likes
on
0 Posts
Through the base coat test...
Well the wife came home crying....she knew I would be pissed at her new door ding.
This is not just a ding, its a door gone wild on her door. Deep scrach that will require either touch up or blend.
So I decided to take my pain and show some of the newcomers what you can do to make it....well at least a little better.
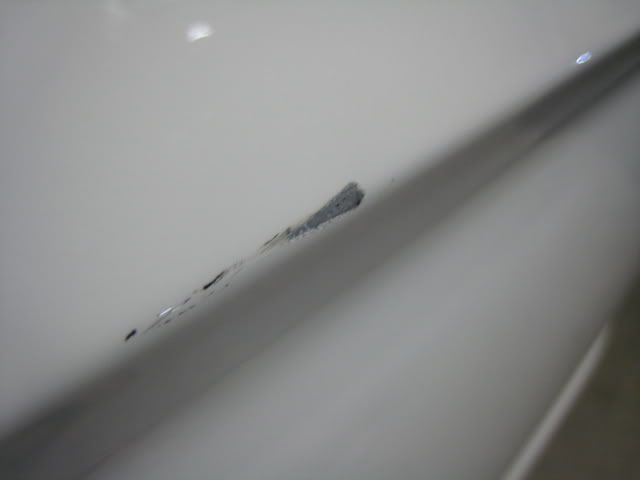
Before photo, notice all the nasty-ness of the ding and scratch, there are many parts to it. And yes this scratch goes all the way through to the metal. Big time. Photos were taken 3 inces from mark using a macro setting and approximately 2 inches long for the before photo.
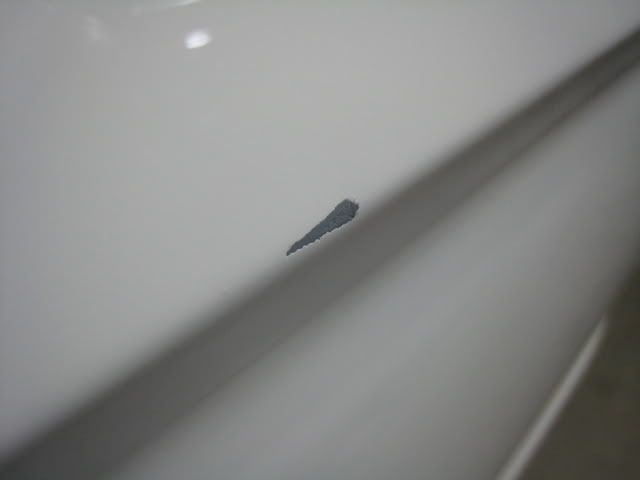
I did a simple one step process to achieve the below. I used PB SSR2 (knowing that SSR3 would be way too much) with a Yellow Lake VC pad using a Flex set at speed 5.
Use this for food for thought, for all the posters that say, "damn I got keyed" or " I got a new scratch" you can get a lot of it out. The mark is now only .5 inch in size.
This is not just a ding, its a door gone wild on her door. Deep scrach that will require either touch up or blend.
So I decided to take my pain and show some of the newcomers what you can do to make it....well at least a little better.
Before photo, notice all the nasty-ness of the ding and scratch, there are many parts to it. And yes this scratch goes all the way through to the metal. Big time. Photos were taken 3 inces from mark using a macro setting and approximately 2 inches long for the before photo.
I did a simple one step process to achieve the below. I used PB SSR2 (knowing that SSR3 would be way too much) with a Yellow Lake VC pad using a Flex set at speed 5.
Use this for food for thought, for all the posters that say, "damn I got keyed" or " I got a new scratch" you can get a lot of it out. The mark is now only .5 inch in size.
#2
05-01-2008, 08:53 AM


#3
05-01-2008, 08:56 AM


#7
05-01-2008, 12:24 PM

Senior Member
Join Date: Mar 2005
Location: St. Charles, MO
Posts: 5,843
Likes: 0
Received 0 Likes
on
0 Posts