
best steps to perfect paint?
#16
 01-13-2012, 11:40 PM


Ask your self if you want take this leap then think really long and hard on it. This is a very deep and dark rabbit whole you are about to jump into but you will have lots of company in your long slow downward spiral into OCDness and detailing. Ask me how I know...........
But son, let me tell ya a little something...at 17 you don't know the first thing about being a perfectionist!
Rule #1...you want to use the least aggressive product that will do the job! Right off the bat you mentioned ultimate compound. It is a compound and you may have no need for it what-so-ever. Post up some pics or start off with something that's very accomplished, but safe...like Meguiars 205 on a medium to light cutting pad. See if that does the trick first.
There's nothing quite like flawless, swirl free paint, but as dsq mentioned, you're about to embark on a new journey keeping it that way...and then you'll want everything perfect. If I could get back 50% of the time I spend in the garage and 50% of the money I spend at autogeek, I'd be a lot better off...but maybe not quite as happy
 !
!


Last edited by Galaxy; 01-14-2012 at 12:07 AM.
#17
01-13-2012, 11:55 PM

Senior Member
Join Date: Nov 2011
Location: Florida
Posts: 664
Likes: 0
Received 0 Likes
on
0 Posts
#18
01-14-2012, 12:23 AM

Senior Member
Join Date: Nov 2007
Location: In a house, in a small town
Posts: 1,845
Likes: 0
Received 0 Likes
on
0 Posts
There is a point though when you need to say enough and quit before you do serious damage to the finish.
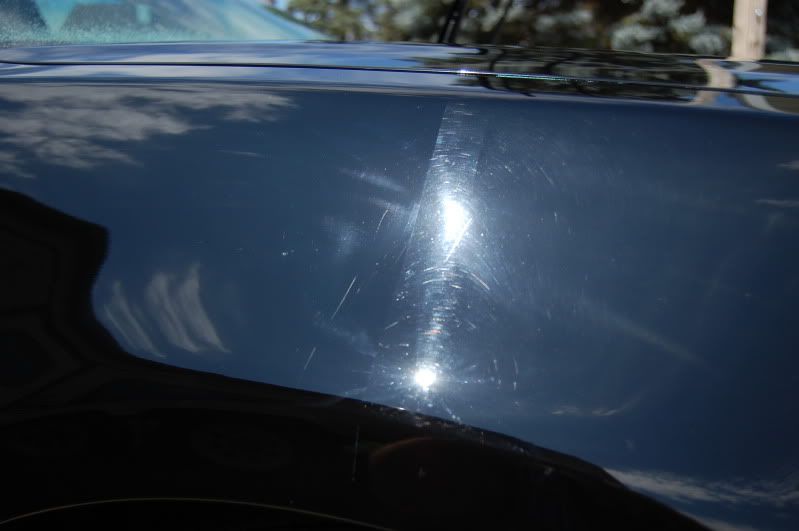
This is a 50/50 shot of the right front quarter panel on my wifes car.
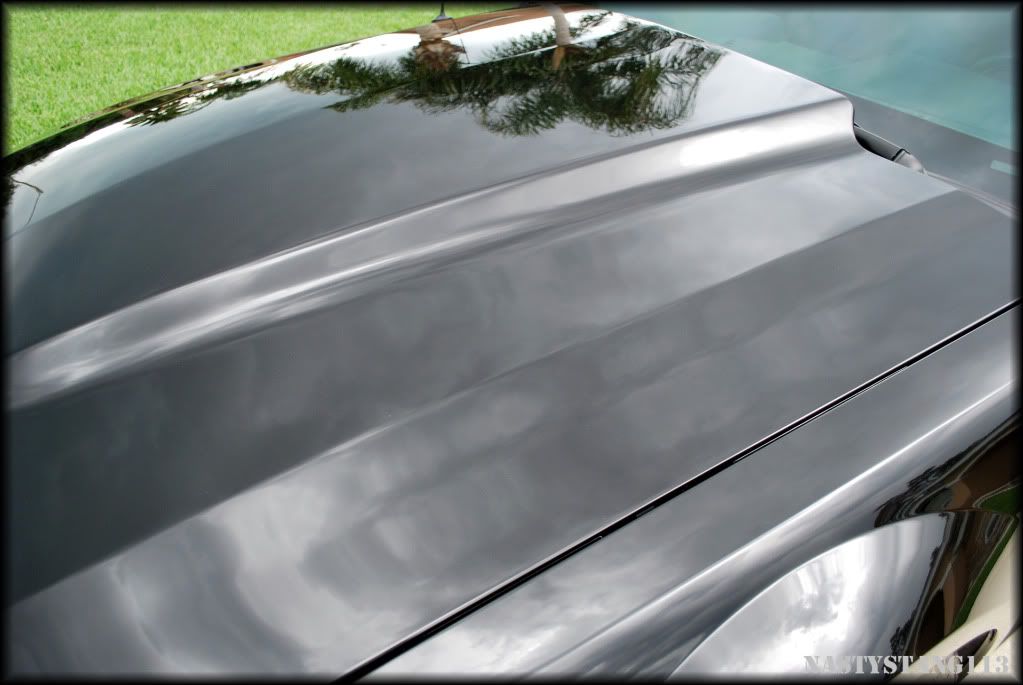
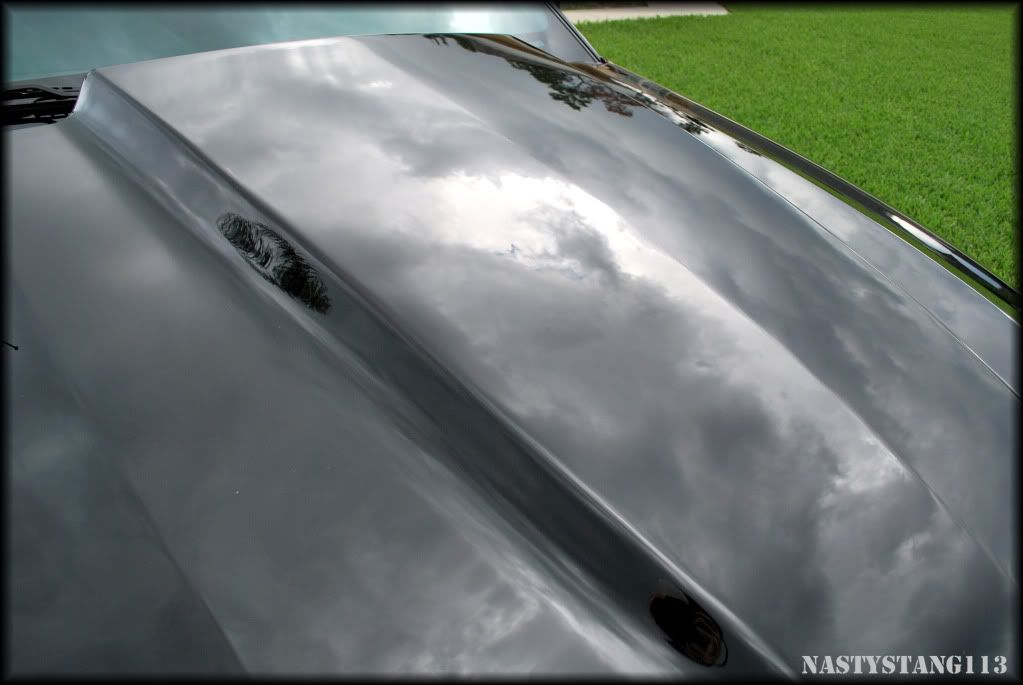
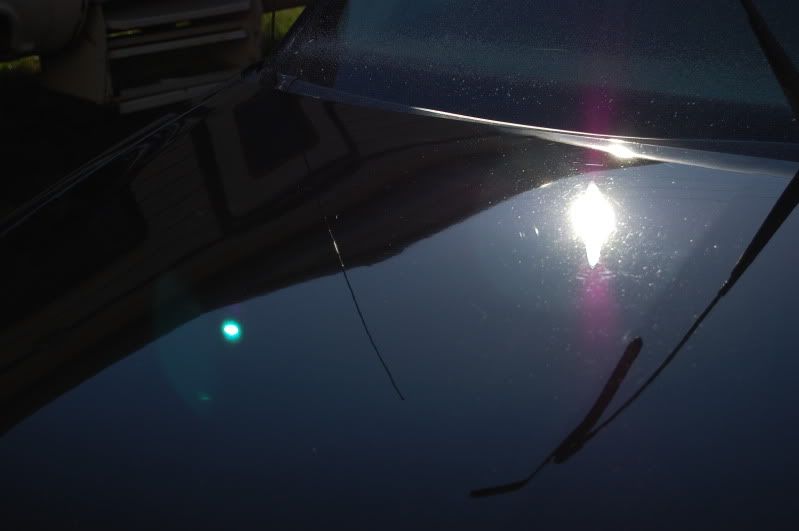
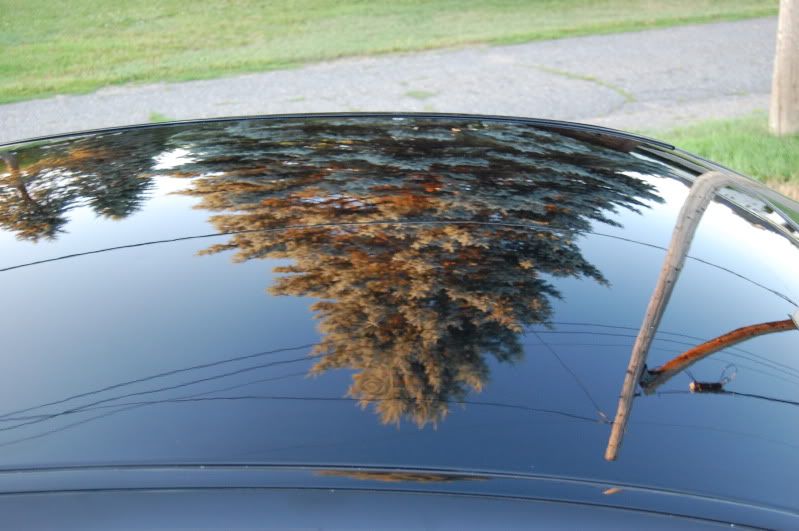
This is the hood before.
This is the hood after I spend 4-5 hours on it. Yupp, it's shiny and I approve.
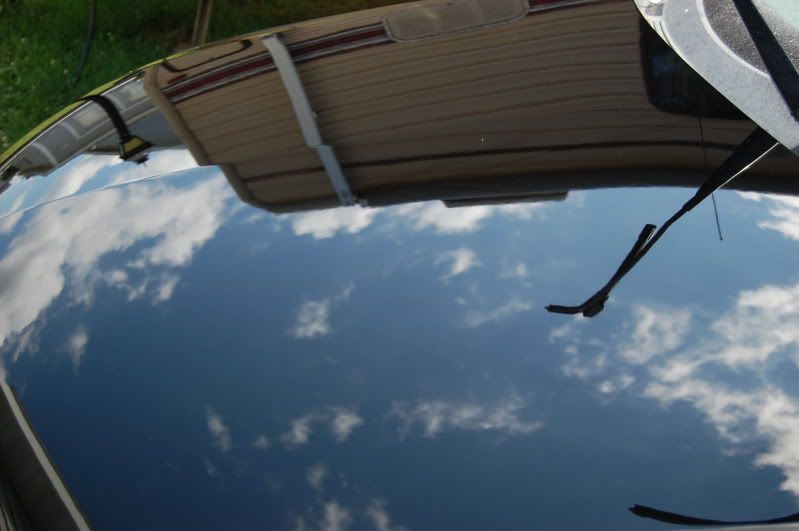
I only had enough time that weekend to get the car's paint to about 80%-85% corrected.
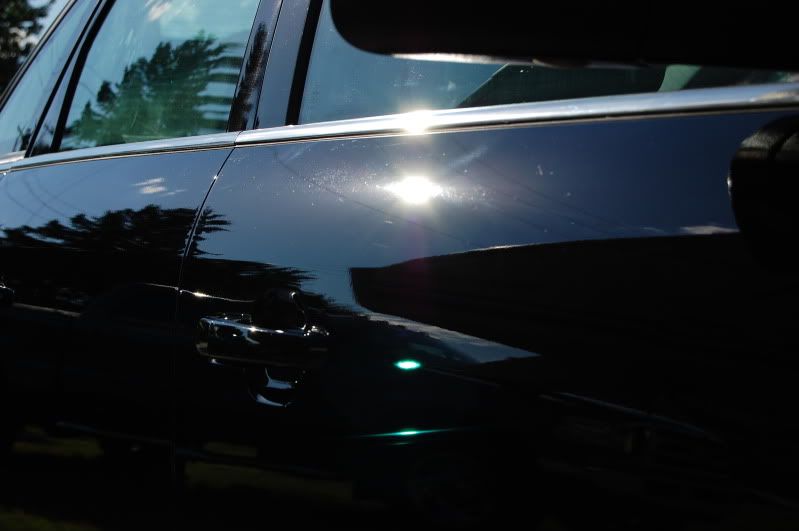
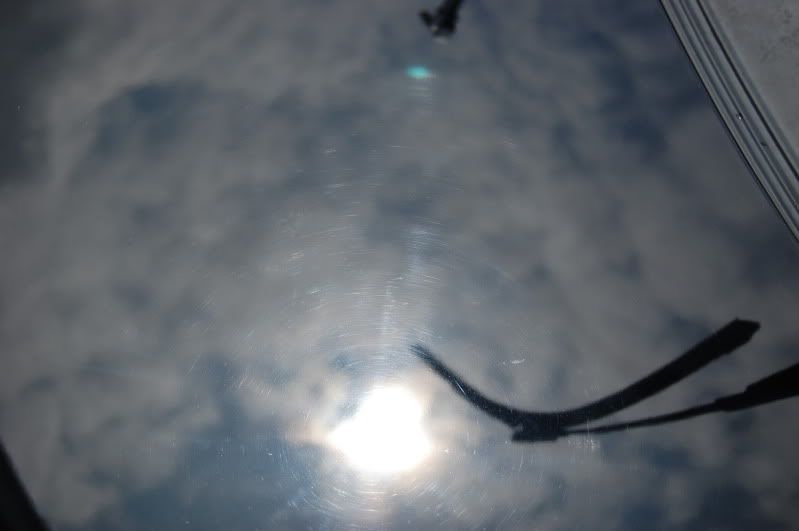
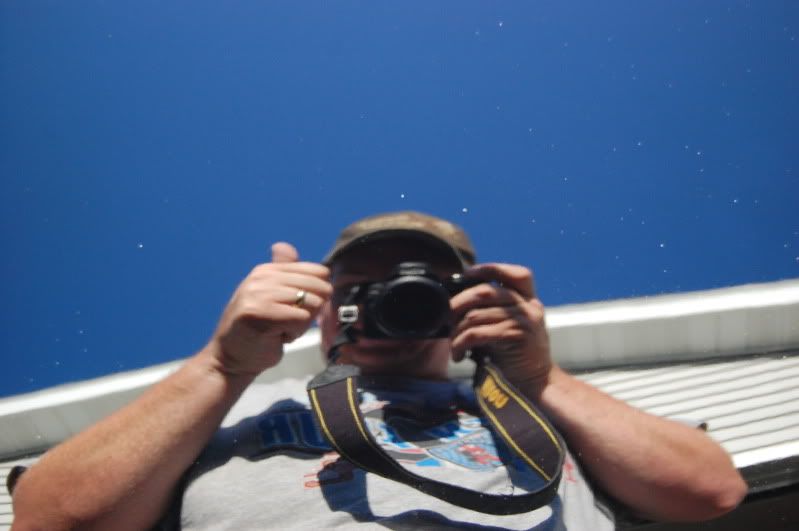
Now the really important part so pay very close attention here. This is what we call the "cheap and shameless reflecto shot" and it's very important.
Last edited by dsq3973; 01-14-2012 at 12:40 AM.
#19
01-14-2012, 08:08 AM
Senior Member
Long rant...please take the time to read.
The point everyone is making is 100% true. Once you go down the "paint polished to perfection" road to obtain that "show car" finish you will be cursed forever.
IMPORTANT:
Now that said, without going down that road you will not experience the joy and sense of accomplishment of personally obtaining that perfect "show car" finish. You will not experience the satisfaction of knowing that you were able to obtain that finish with your knowledge, skill and new found abilities. With time and practice you will find you now have become and artist with a buffer and paint. Sadly, without going down that road you will never feel that sense of pride you will feel when you step back, look at your work, and know the paint looks beautiful and it is a job well done. True detailing is a science and an art!
Now on to the story...when I come to a stop light I look at the paint on the vehicles waiting for the light. Most of them give me a sick feeling. Every now and then (and it's rare) I spot a vehicle with a beautiful finish. Sometimes I wonder does it look that way in spite of the owner or do they truly "Take Pride In Their Ride".
I will admit I am now cursed. I can no longer look at a vehicles paint without seeing the flaws. I can not step back and look at a vehicle and say "That's a nice car". I now focus on the paint and I see every little thing.
As I look back I wish I could have found a local "true detailer" to polish my paint and maintain my vehicle(s). I would not be as obsessive as I am now and it would have cost me a LOT less money and so many many hours of my life. It would be their responsibility to my keep my vehicle(s) swirl free, clean and sealed.
Side Note: I probably have enough LSP's on my shelf to last 15 lifetimes. It is a constant quest to find that perfect sealant, wax or combination of products to obtain that shiny, deep, wet, warm, glowing finish with long lasting durability and hydrophobic properties that causes water beading the size of pin heads.
Now on to the DA buffer/polisher. The PC7424xp is a simple tool to learn. I can teach someone the correct way to use it in ten minutes. Then with practice they will be pretty good with it in six months. After a year of studying, discipline and practicing the Kevin Brown Method (and many other techniques) they should be able to master the tool. As far as other DA tools, don't be fooled by the Griot's Garage 6" it has a lot of power for a small DA. Then there's the Flex XC 3401, this direct orbital drive DA is currently the big dog on the porch.
And you know what happens then??? Then you purchase a Rotary buffer!!! Do make sure it's a good one. The Flex PE-14-2-150 is a good tool. A Rotary buffer is a much more dangerous tool. The techniques, pads and some products are totally different. It takes years to master and you will always be learning new things about using a Rotary. Unlike the DA it is best to purchase a "practice" hood from a junk yard, put the hood on a stand. Learn how to use a Rotary on practice hoods before EVER touching a vehicle. One mistake and you can burn right trough the paint $$$! On the other hand, It greatly reduces work time and the "jeweling" results that can be obtained with a Rotary are "off the chart" OUTSTANDING!
Then there's the study of the four P's - Paint, Pads, Products and Process.
In the above rant I didn't even mention the different types of pads and all the different types of compounds, polishes and LSP's from all the different manufacturers. Yes, they all want a piece of the "detailing paint" action.
Do you REALLY want to know the "best steps to perfect paint?"
If so, I can give you a tried and true list (about $200) of machine, pads, products and process to get you started and begin your quest.
Then after 30+ hours on your first vehicle allowing for a learning curve and the time for correcting your corrections you're on your way.
Yes, this is the rabbit hole of which they speak!
Choose wisely.

#21
01-14-2012, 08:30 PM
Senior Member
My thoughts for a starter list...
Machine, Pads and Polish
1) Griots Garage 6" DA Polisher (lifetime warranty)
1) Clay Magic� Med or Fine Grade Detailing Clay
1) Meguiars M105 16oz or 32oz (compound)
1) Meguiars M205 16oz or 32oz (polish)
1) Dual Action (DA) 5" (hook & loop) backing plate
6) 5.5" Lake Country (LC) flat pads "six-pack"
...[2-orange, 2-white, 1-black, 1-blue)
1) Grit Guard Insert - 2 Pack (one for each bucket)
1) Meguiars Gold Class Shampoo (local auto parts store)
1) Quality Natural Wool or Chenille microfiber (MF) wash mitt
Then Last Step Product (LSP) of your choice
Zaino Z-2 $15
Collinite 845 $15
or
Blackfire Wet Diamond $30
On sale now $20 Click Here
For a Quick Detailing Spray I like Zaino Z-6
It may be a hair over $200 but IMHO this is a good starter list.
I tried to keep the best quality products at a lowest price point.
Welcome to my world...When you obtain the above list let me know.
I'll help you study and learn the Kevin Brown Method for using a DA.
#22
01-15-2012, 06:52 PM

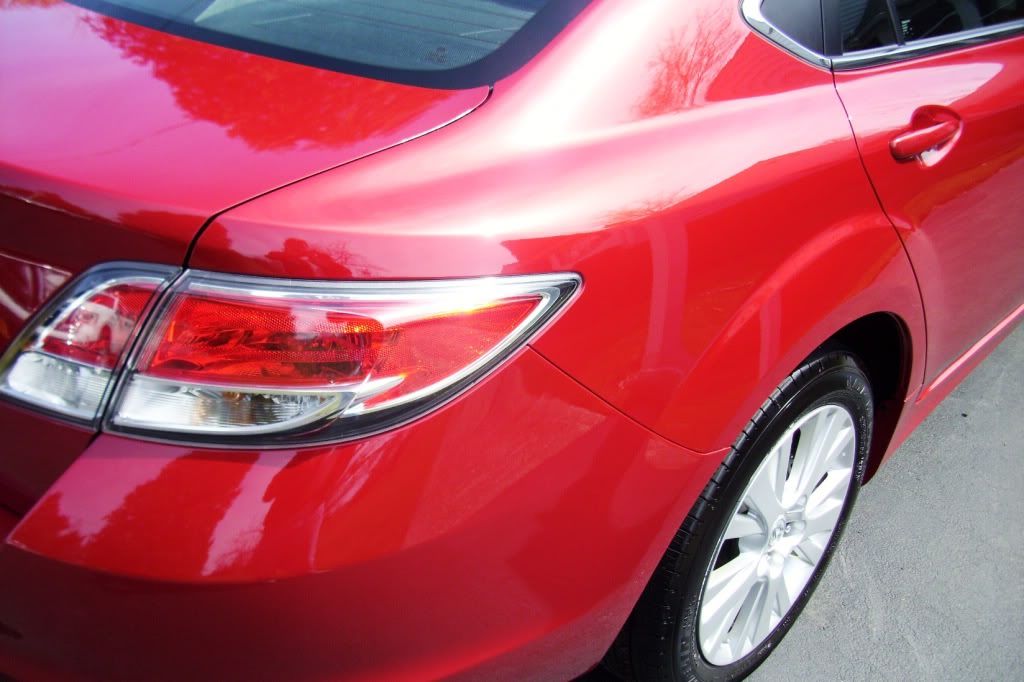
This is a 2009 Mazda 6 I recently detailed. The neat thing about red - as you can probably see - is that when you do it right, it actually looks like it's dripping off the vehicle.
 - Nice work!


#25
01-16-2012, 07:37 PM
Senior Member
#26
01-18-2012, 08:38 PM

Senior Member
Join Date: Jul 2006
Location: Cypress, TX
Posts: 1,285
Likes: 0
Received 0 Likes
on
0 Posts
to the OP: there is a lot of good advice in this thread, and also some bad advice.
The easiest way to spot the difference?
The good advice is most often accompanied by detail explanations and multiple before and after photographs, either in the current thread, or multiple other threads. Most of these detailers are either pros, seasoned enthusiasts with years of experience, or really talented guys just starting out that have received a ton of good advice and taken it to heart.
Like this:
Before:

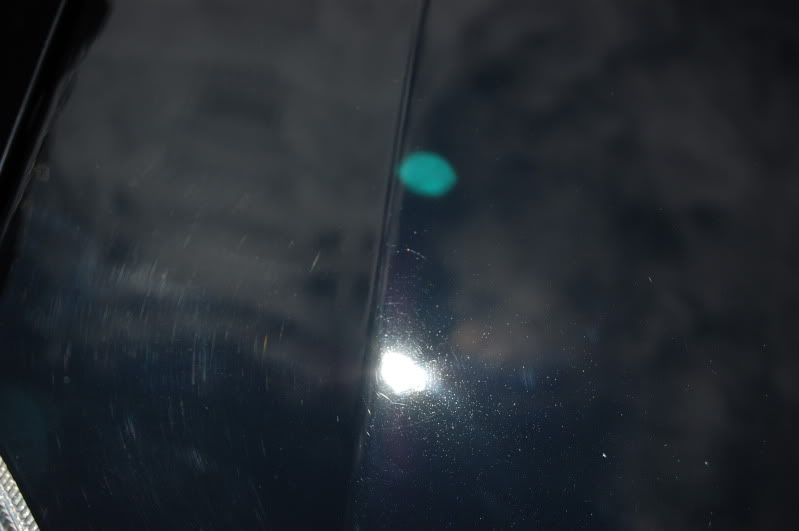
And after correction. This is a bare paint shot immediately after the DI wipe down, no glaze, wax or sealant of any type on the paint.

The bad advice is usually posted by people that cut and paste, and talk a lot about opinions, but never offer any real proof that they know what they are doing, and could never, ever be considered an expert, or a professional.
The quicker you learn to tell the difference between the posters that know what they are talking about, and the posters that are just blow hard kids with no real knowledge, they better off you will be, and the more you will learn.
One of the best ways to learn is to find a good experienced detailer near you that is willing to watch/help/teach you how to do some of this stuff.
An 85% vehicle is fairly easy to achieve and maintain with proper technique. Going above that becomes a full time job to maintain.
The easiest way to spot the difference?
The good advice is most often accompanied by detail explanations and multiple before and after photographs, either in the current thread, or multiple other threads. Most of these detailers are either pros, seasoned enthusiasts with years of experience, or really talented guys just starting out that have received a ton of good advice and taken it to heart.
Like this:
Before:
And after correction. This is a bare paint shot immediately after the DI wipe down, no glaze, wax or sealant of any type on the paint.
The bad advice is usually posted by people that cut and paste, and talk a lot about opinions, but never offer any real proof that they know what they are doing, and could never, ever be considered an expert, or a professional.
The quicker you learn to tell the difference between the posters that know what they are talking about, and the posters that are just blow hard kids with no real knowledge, they better off you will be, and the more you will learn.
One of the best ways to learn is to find a good experienced detailer near you that is willing to watch/help/teach you how to do some of this stuff.
An 85% vehicle is fairly easy to achieve and maintain with proper technique. Going above that becomes a full time job to maintain.
#27
01-19-2012, 12:20 AM

Member
Join Date: Jan 2011
Location: Athens, AL
Posts: 84
Likes: 0
Received 0 Likes
on
0 Posts
here are a bunch of great videos to get you started
http://www.adamspolishes.com/t-videos.aspx
Adam's also has a forum of it's own, http://www.adamsforums.com to help with any questions you may have. Plenty of "proven" experts there!
http://www.adamspolishes.com/t-videos.aspx
Adam's also has a forum of it's own, http://www.adamsforums.com to help with any questions you may have. Plenty of "proven" experts there!
#28
01-19-2012, 06:51 AM

How about starting from the beginning. Where do the swirls come from? A lot of folks will say from washing or from car washes.
First, I don't think you'll find any car washes with swirling brushes that spin flat at 360 degrees...at least anymore. Almost every car wash has the brushes that spin 360 degrees upright from bumper to bumper. As you can point out, the vehicle has swirls not pin-stripes.
Second, most people do not wash their car by hand swirling their sponge, cloth or wool mit in a tight circular motion. My second guess is, that they do not dry that way as well. So my last guess is, you can eliminate washing and drying as the culprit for those aggravating swirls.
What's the next thing that goes in a circular motion (do not include buffers) over the surface of your car and might have a very fine to heavy abrasive in it....enough to cut the surface and requires lots of Show Glaze to hide the swirl damage?
I've often asked custom paint shops why they would wet sand a paint job to perfection then come right behind it and use polishing compounds, waxes and then be forced to apply show glazes later to hide the swirl marks. I've always been told, that's the way it is done. What is the one thing you find most folks doing at an sunny outdoor car show? Running around show glazing the paint to cover their swirl marks before judging. Check it out for yourself.
If you would like to see something different check out this post at: http://www.audizine.com/forum/showth...blah-blah-blah the photos are off the hook and the owner never show glazes before or during the show whether it is indoors or outside.
Last edited by AW1MarkG; 01-19-2012 at 06:59 AM.
#29
01-19-2012, 10:43 AM

Senior Member
Join Date: Aug 2010
Location: Cabot, AR
Posts: 1,185
Likes: 0
Received 0 Likes
on
0 Posts
Can I get an AMEN brotha!!!
But son, let me tell ya a little something...at 17 you don't know the first thing about being a perfectionist!
Rule #1...you want to use the least aggressive product that will do the job! Right off the bat you mentioned ultimate compound. It is a compound and you may have no need for it what-so-ever. Post up some pics or start off with something that's very accomplished, but safe...like Meguiars 205 on a medium to light cutting pad. See if that does the trick first.
There's nothing quite like flawless, swirl free paint, but as dsq mentioned, you're about to embark on a new journey keeping it that way...and then you'll want everything perfect. If I could get back 50% of the time I spend in the garage and 50% of the money I spend at autogeek, I'd be a lot better off...but maybe not quite as happy!
But son, let me tell ya a little something...at 17 you don't know the first thing about being a perfectionist!
Rule #1...you want to use the least aggressive product that will do the job! Right off the bat you mentioned ultimate compound. It is a compound and you may have no need for it what-so-ever. Post up some pics or start off with something that's very accomplished, but safe...like Meguiars 205 on a medium to light cutting pad. See if that does the trick first.
There's nothing quite like flawless, swirl free paint, but as dsq mentioned, you're about to embark on a new journey keeping it that way...and then you'll want everything perfect. If I could get back 50% of the time I spend in the garage and 50% of the money I spend at autogeek, I'd be a lot better off...but maybe not quite as happy
!Re: Ultimate Compound (UC) + Ultimate Polish (UP) vs M105 + M205
Originally Posted by SaiyanZ
Ultimate Compound (UC) + Ultimate Polish (UP) vs M105 + M205
Which would you prefer?
So many variables........
In a body shop environment there is no question - M105/M205 all the way as UC and UP are not body shop safe.
For the casual user working via D/A, UC is much more user friendly in that it creates far less dust and offers a longer buffing cycle. Remember, M105 was primarily designed for use with a rotary buffer and wool pad to remove sanding marks from fresh paint. If you're working by hand it's sort of a toss up, but M105 can provide more cut than UC this way.
M205 vs Ultimate Polish on a D/A or by hand is also a toss up. Cost alone would likely push the casual user to Ultimate Polish. It would be a very close call to state that either of these two is more user friendly than the other. The difference between them, with regard to usability at least, is nowhere near as dramatic as the difference between M105 and UC.
Unless you're working with a rotary, or you need to remove sanding marks on a regular basis, you're likely to find UC/UP to be easier to use, and easier on your wallet, while returning comparable results overall.
Michael Stoops
Internet Technical Specialist | Meguiar's Inc.
(800) 854-8073 xt 3875
mstoops@meguiars.com
Remember, this hobby is supposed to be your therapy, not the reason you need therapy.
#30
01-19-2012, 10:52 AM
Senior Member
Join Date: Aug 2010
Location: Cabot, AR
Posts: 1,185
Likes: 0
Received 0 Likes
on
0 Posts
well im a perfectionist. i want my trucks paint looking BRAND new again. i see tons of tiny fine swirls and it bugs the crap out of me. im only 17 i spent good money on my truck and i want it showing. i really like the meguiars tech wax 2.0 and ultimate compound, i want to clay bar it and wax it. is there more i need to do? what are the best steps to take? what do you guys do and use? basically im looking for some tips as im still learning. thanks everyone
http://www.autodetailingsolutions.ne...imate-kit.html