kind of did the gotts
#1
kind of did the gotts
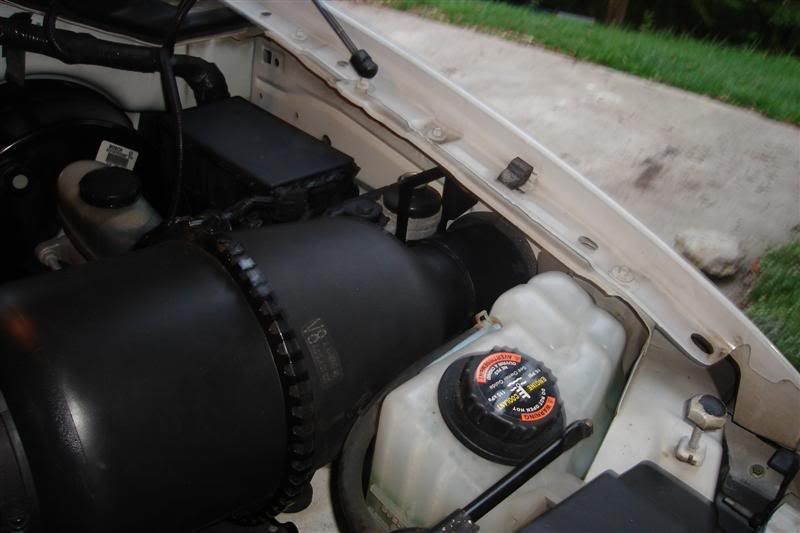
well i used a piece of 3in pvc to replace the end piece on the intake. i just shaved it down to get it to fit into the fender then used a clamp to hold it to the original tube. had a tip from mass to maine this weekend and i must say i am very surprised. in regards to performance i dont feel anything. almost feels like i lost a little low end tq. but when i hit the pumps i noticed a big difference. 18mpg on the way up and 18.5 on the way back. best i ever got out of the truck was just under 18 and i could only do that one time. i am also running the 22in wheels which i know dont help. so with the bigger wheels i still saw a solid 1-1.5mpg gain. i would of never believed it but it really did help. i did not undo the battery when i did it. so anyone thinking of trying this i say do it and see for yourself.
#2
I did it for my 01 5.4 and I did unhook my edge so I could get a clean start on MPGs and its readin about 15 in the city. which aint bad. i just have it w/o either pipes. tomorrow ill go out and buy a PVC pipe and a coupler and finish the job. I havnt punched it yet but after this tank ill try it.
#4
#6
I did this without knowing there was an "official" modification. I did mine a bit differently from the Gotts process, but it's probably just as effective (and not worth the hassle of changing it now).
I removed the snout from my stock aircleaner, and used a piece of ABS pipe (3" IIRC) reamed out with a Dremel sanding drum a bit to fit over the end. I applied some thick foam weatherstripping the side of the engine compartment around the hole that leads to the fenderwell to seal it up. I didn't need a coupler with this method, and already had the pipe and wx-strip lying around.


Andy
I removed the snout from my stock aircleaner, and used a piece of ABS pipe (3" IIRC) reamed out with a Dremel sanding drum a bit to fit over the end. I applied some thick foam weatherstripping the side of the engine compartment around the hole that leads to the fenderwell to seal it up. I didn't need a coupler with this method, and already had the pipe and wx-strip lying around.


Andy
#7
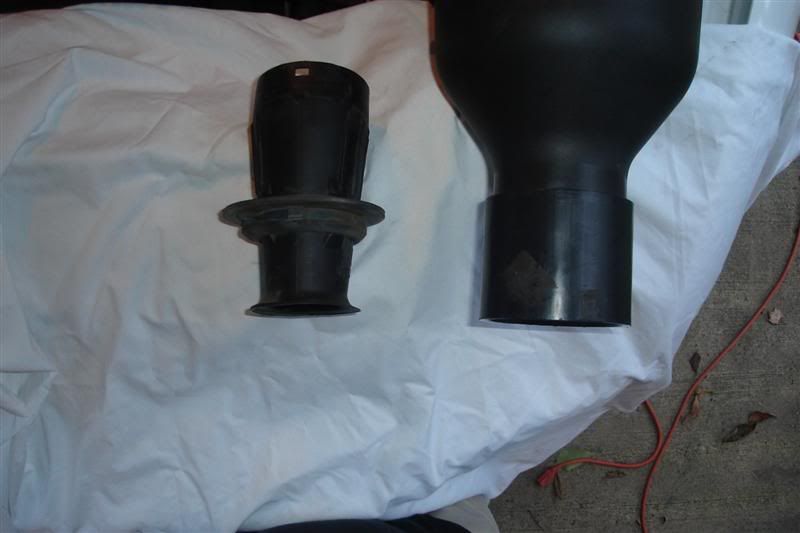
This thread got me thinking about yanking out the intake silencer, as well, and I needed a break anyway, so, 20 minutes, my dremel, a screwdriver, and a set of pliers later......

AND - I got this cool new "trumpet" exhaust tip in the process!!!

(I keed! I keed!)
OK. Back to work now.
Andy

AND - I got this cool new "trumpet" exhaust tip in the process!!!


(I keed! I keed!)

OK. Back to work now.

Andy
Last edited by OhioLariat; 03-18-2010 at 12:26 PM. Reason: Pic was gone??
Trending Topics
#8
This thread got me thinking about yanking out the intake silencer, as well, and I needed a break anyway, so, 20 minutes, my dremel, a screwdriver, and a set of pliers later......

AND - I got this cool new "trumpet" exhaust tip in the process!!!

(I keed! I keed!)
OK. Back to work now.
Andy

AND - I got this cool new "trumpet" exhaust tip in the process!!!


(I keed! I keed!)

OK. Back to work now.

Andy

#10
I did the Gotts today on my '04 Lariat Supercab, except I used the aluminum flexible dryer vent hose. It flexs when the motor torques. I can really feel the difference in the throttle response, especially from a dead stop. Still seems to be a bit of lag when passing, but nowhere near what it was before. Will have to wait and see if mpg improves. Had been getting 15.8 locally, will let you know after a tank or two with mod. Took all of 30 minutes to do and that was with my 5 yr old grandson "helping"...lol.
Total cost: ~$9
Total cost: ~$9
#12
#13
Rebel, I thought the 04+ intakes had an external silencer. If not, though, and they're the same as mine, HERE is a write up on one way to do it.
I did not remove the flexible portion as suggested in the write-up, and, after tearing mine out, realized it may be possible to remove it in one piece, without using the Dremel. It looked to me as I started, like the pieces were glued or molded together. Once out, though, it was obvious they are not. The silencer "snaps" into a groove in the main body. If one could get a screwdriver between the pieces and pry, they might be able grab it with some needle-nose pliers, and work it out. After cutting mine all the way round with the Dremel, though, the "ring" bent up and came out with pliers, and the rest of it followed pretty easily without mangulation.
Andy
Last edited by OhioLariat; 07-03-2009 at 12:07 AM.


 Love the trumpet