

Billet Polishing 101
#2
 05-26-2007 | 05:44 PM

Thread Starter
|
Senior Member
Joined: Dec 2004
Posts: 543
Likes: 0
From: Metro Atlanta
Wet Sand 400 Grit:
Buffer should turn 2800 � 3200 for best results, watch the stiffer wheels with the heavy rouge it will leave tracers lines behind any engravings. I highly recommend a Painters hood, respirator and some safety goggles for this.
Sisal Wheel:
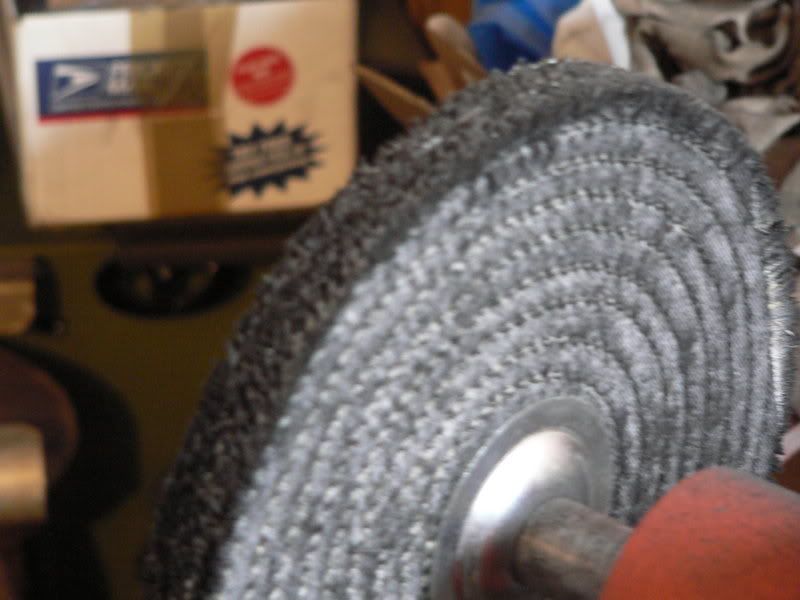
Open Cotton backed by a sewn Cotton Wheel:
Buffer should turn 2800 � 3200 for best results, watch the stiffer wheels with the heavy rouge it will leave tracers lines behind any engravings. I highly recommend a Painters hood, respirator and some safety goggles for this.
Sisal Wheel:
Open Cotton backed by a sewn Cotton Wheel:
#5
05-26-2007 | 05:47 PM
Thread Starter
|
Senior Member
Joined: Dec 2004
Posts: 543
Likes: 0
From: Metro Atlanta
#7
05-26-2007 | 05:49 PM
Thread Starter
|
Senior Member
Joined: Dec 2004
Posts: 543
Likes: 0
From: Metro Atlanta
Trending Topics
#8
05-26-2007 | 05:51 PM
Thread Starter
|
Senior Member
Joined: Dec 2004
Posts: 543
Likes: 0
From: Metro Atlanta
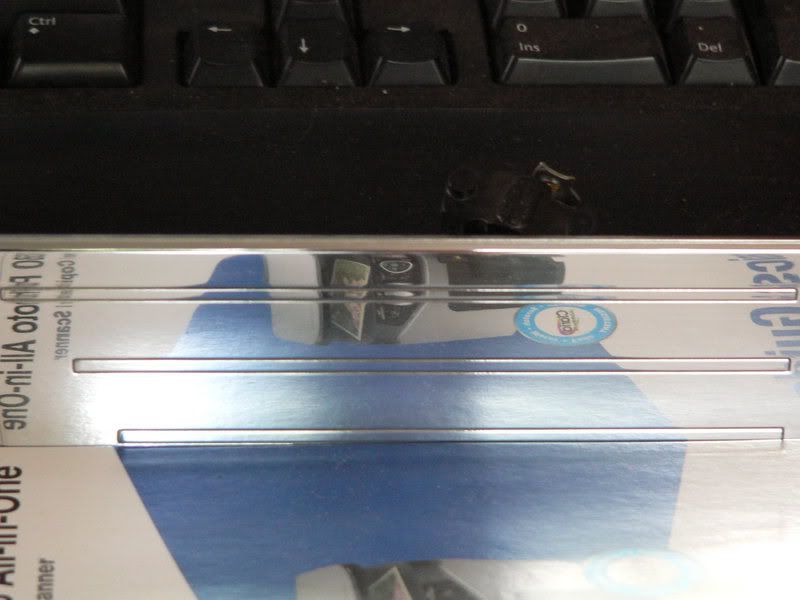
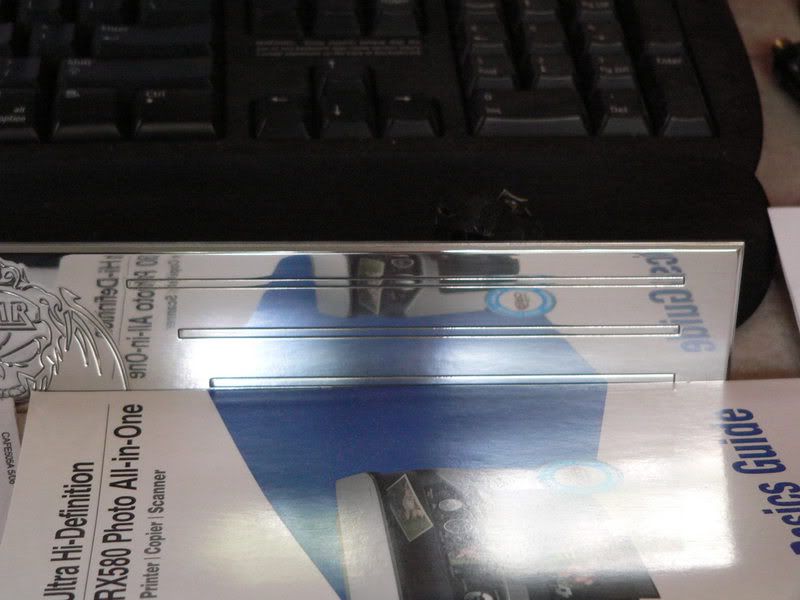
Since this shop keeps there pass speed up and doesn�t change out to a fresh or different bit one must go thru some addition processes.
First for me is a good random orbital sander. I myself use a Dewalt with the variable speed settings.
Next sandpaper and grits.
Keep in mind folk's if one stays in one place too long you will or can leave grooves from your finger tips as well.
Always over lap your sanding, keep your paper fresh and allow it to work for you.
Once you start with the buffing compounds the same rules apply.
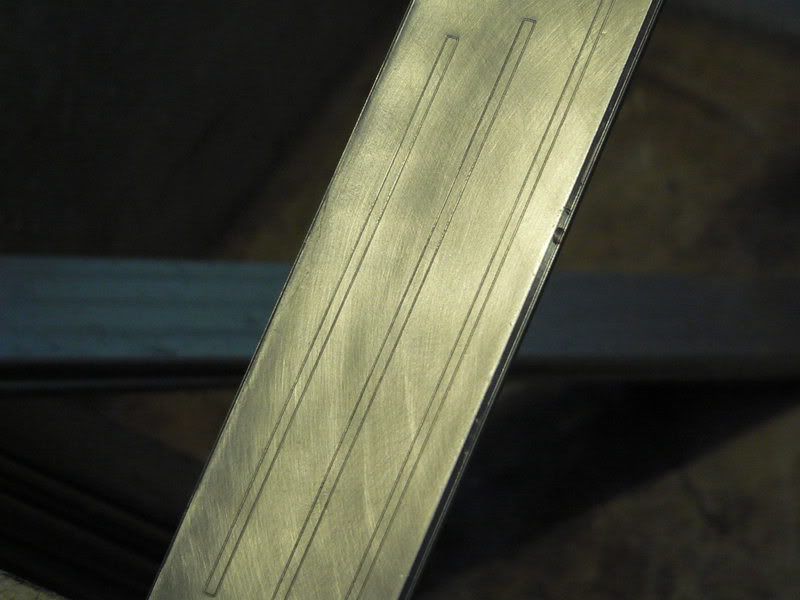
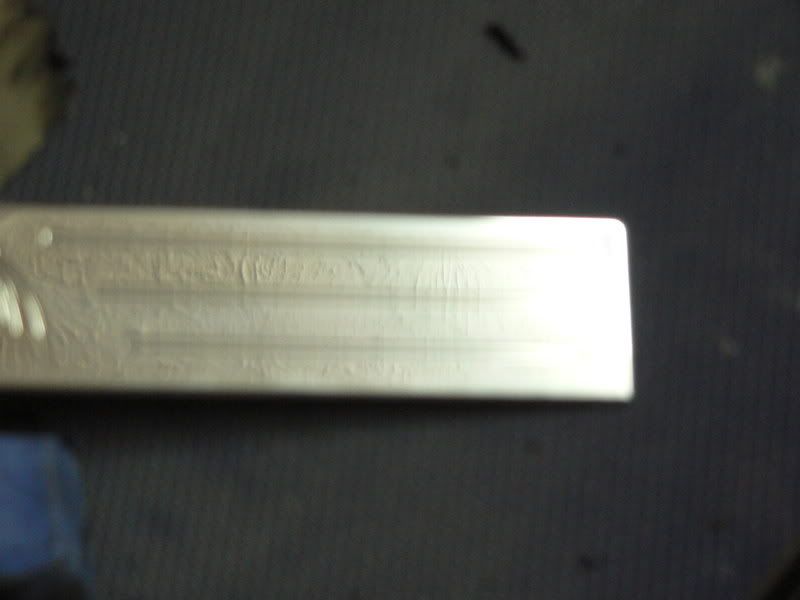
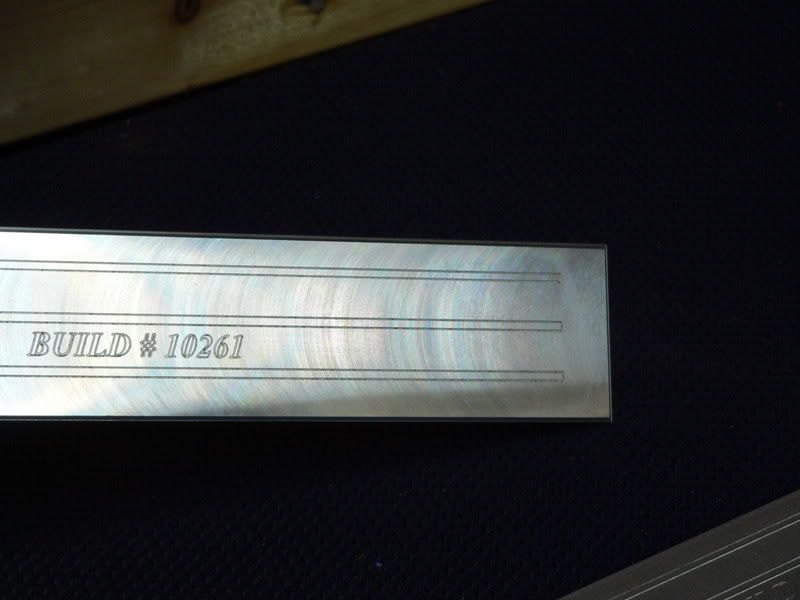
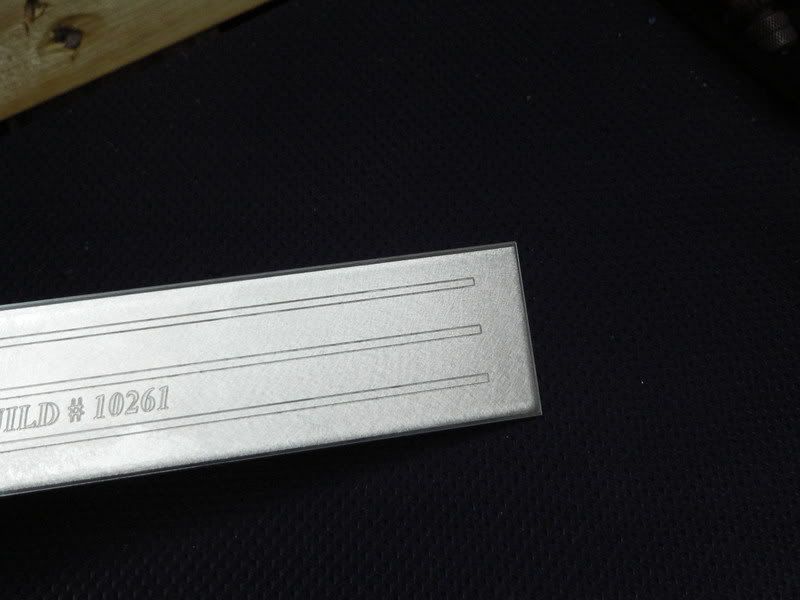
This is a picture of the first pass, of many using a 220 grit with a open hole pattern for dispersal of any residue.
Make sure you use a fresh piece; don�t set it face down as it may pick up some debris that will cause scaring and extra work for you.
Maintain as flat as possible angle to your work surface (If not totally flat) to avoid pitch marks from the angle and or pressure of the machine against the work surface. A heavy grit paper can and will reek havoc on Aluminum in very short order.
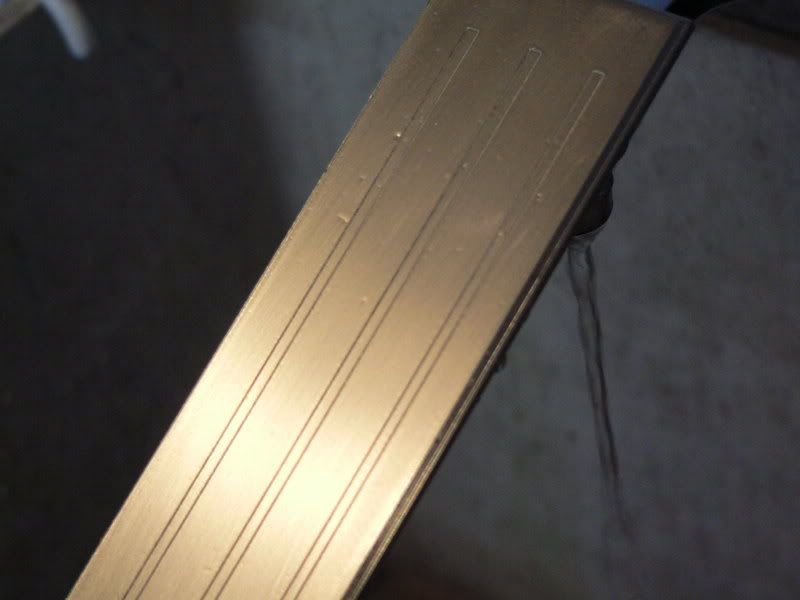
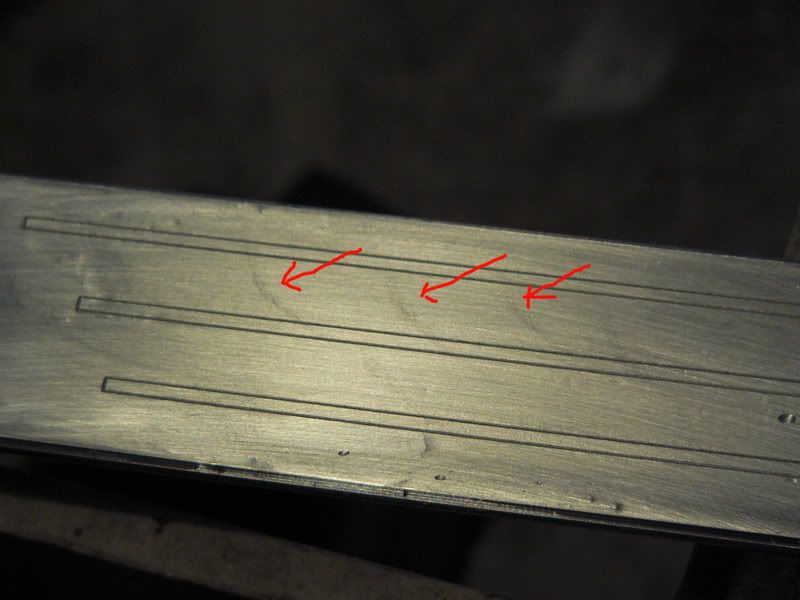
This first set of pictures will show where I leaned a little too hard with the Palm Sander and left some tracking marks or sanding gouges.

#9
05-26-2007 | 05:52 PM
Thread Starter
|
Senior Member
Joined: Dec 2004
Posts: 543
Likes: 0
From: Metro Atlanta
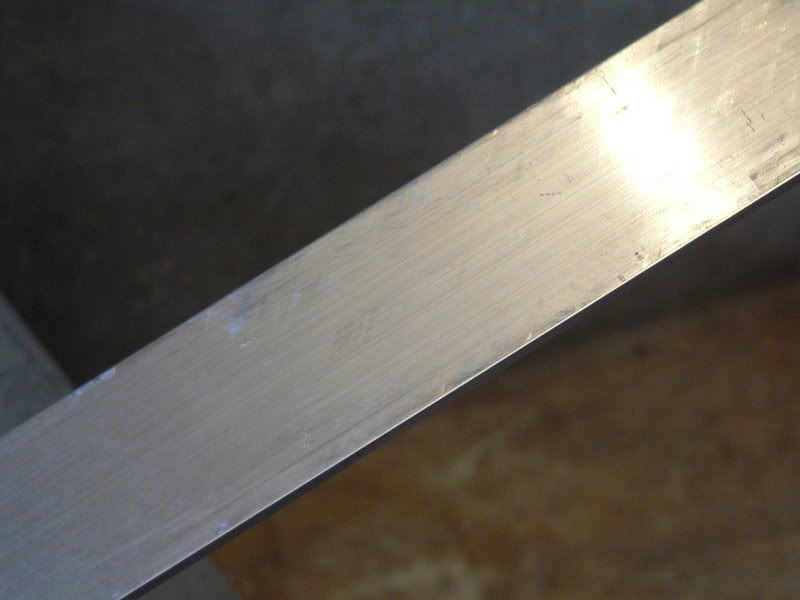
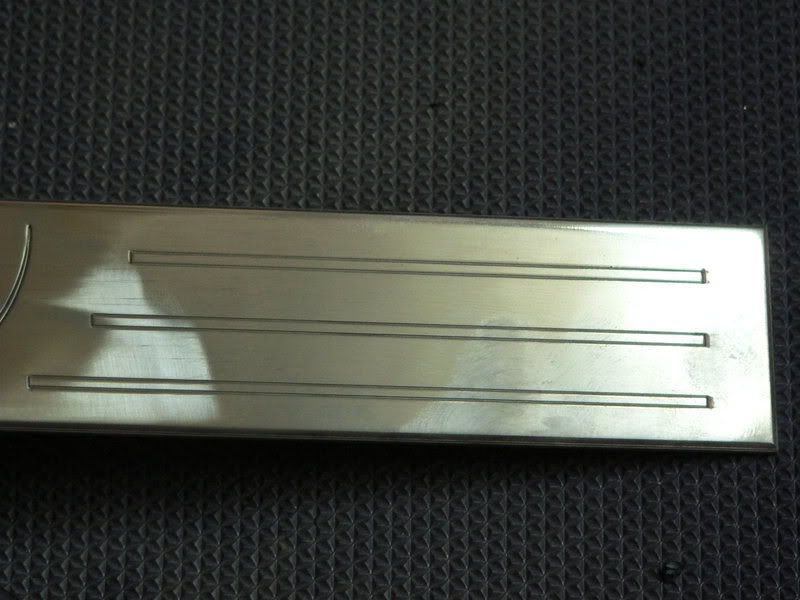
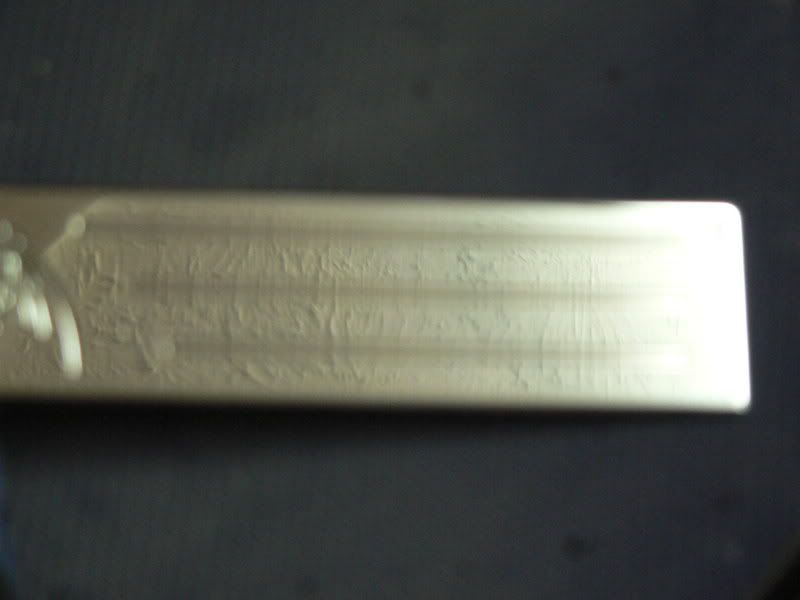
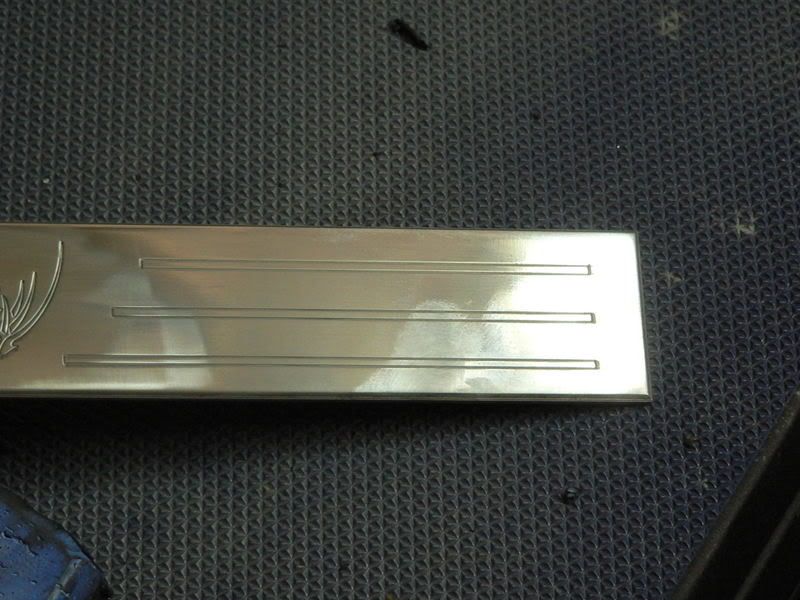
The next step is increasing the grit count (The higher the number the more particles per square inch) on the paper your using, wither it be a Dry-Sand or a Wet-Sand paper.
Myself I go start too the wet-sand a 320 grit or count is a reasonable step. Some may take another step from there and go to a 400 grit.
Either way keep sanding with the grain so too speak, and yes metals can and do graining from the processing.
These will ease in remove the lines left by sanding once you hit the buffer, if going this route but by hand keep stepping up with the grit count the finer you get the less polishing will have too occur.
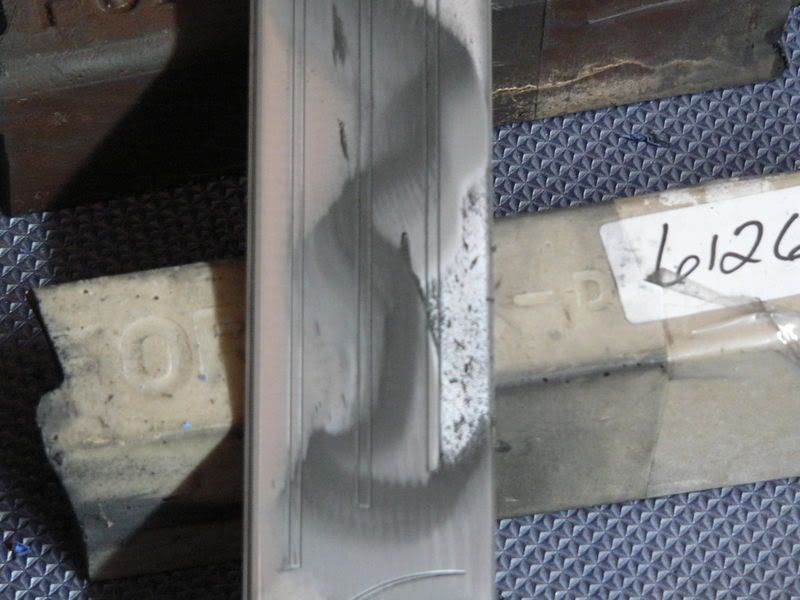
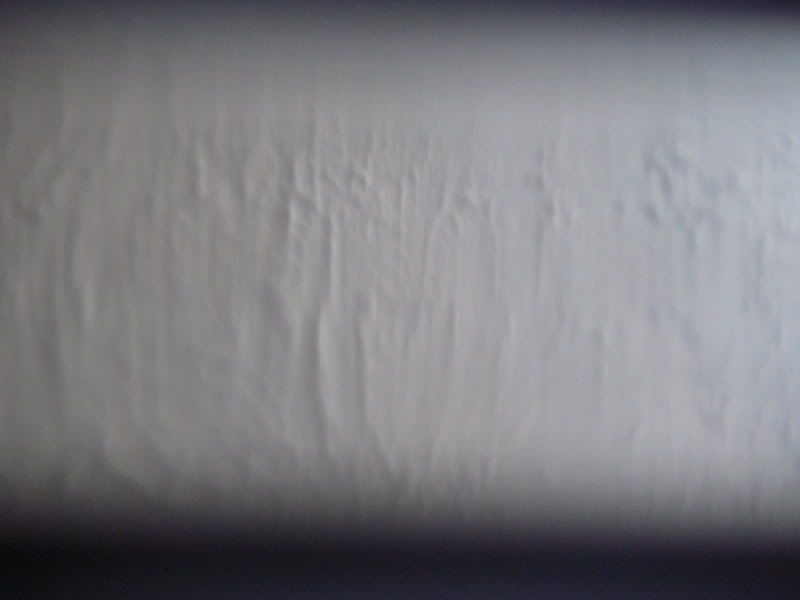
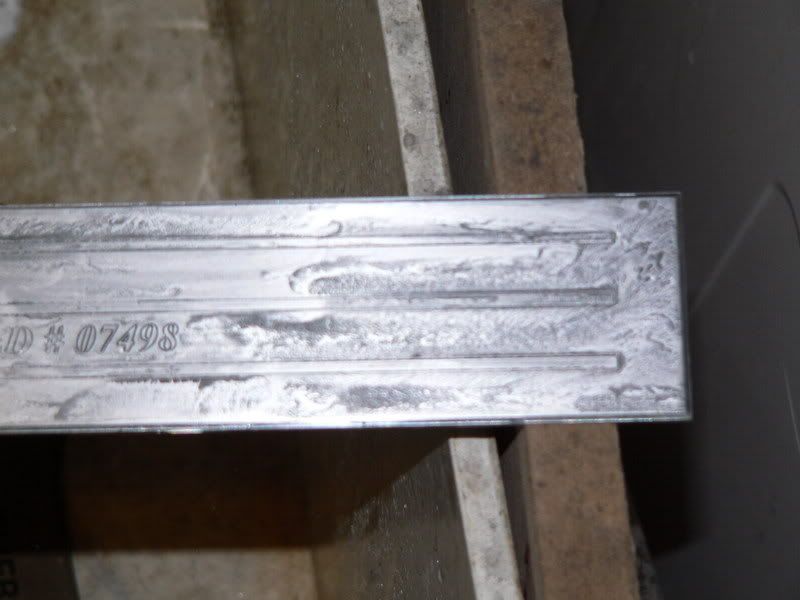
This picture shows the suspended particles of Aluminum, too ease the clogging effect these will have on your Wet-Sand paper use a drop of soap and rinse your paper often.
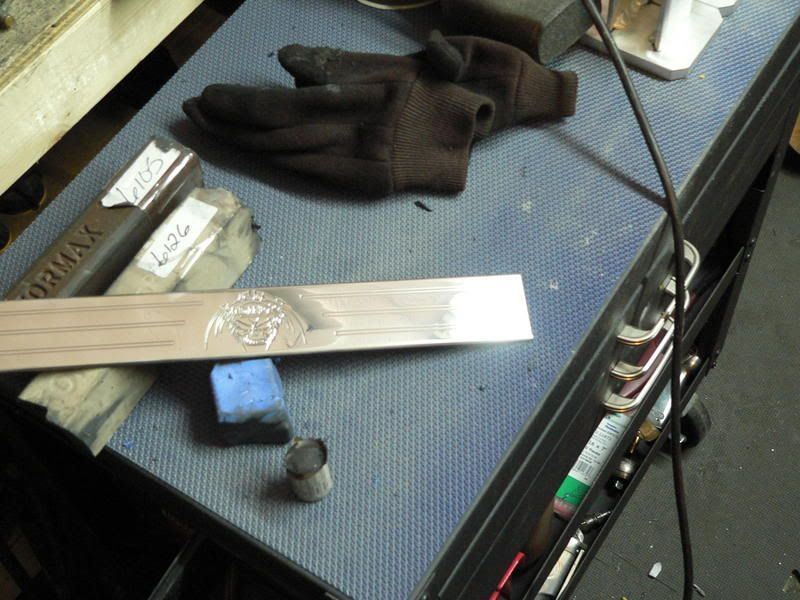
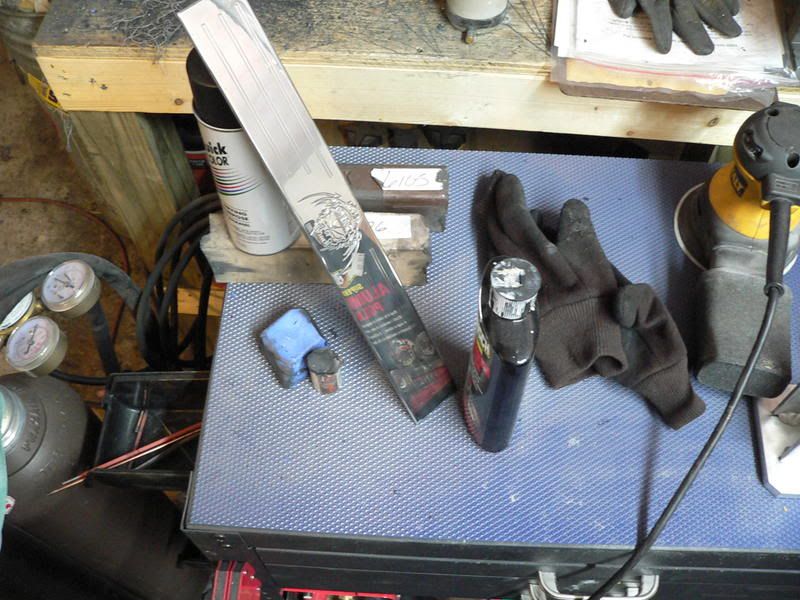
Buffer time;
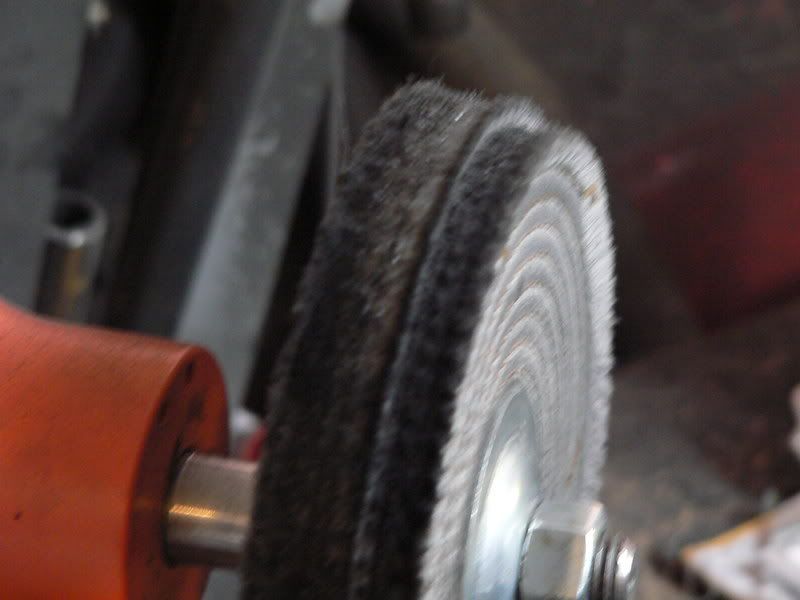
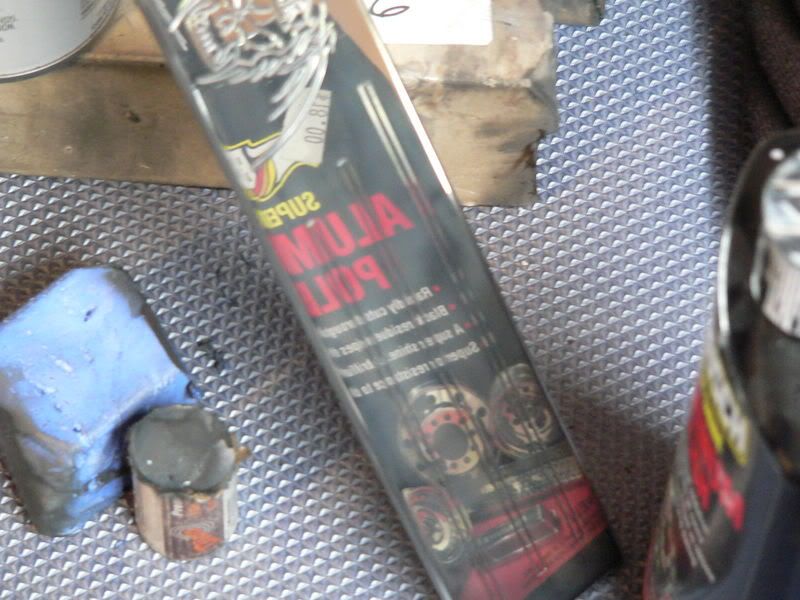
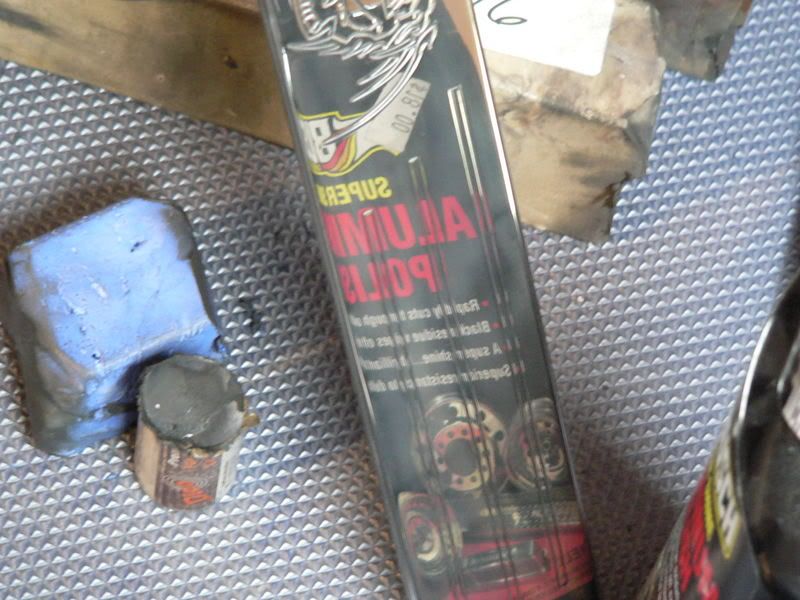
Sisal Wheel Brown Rouge:
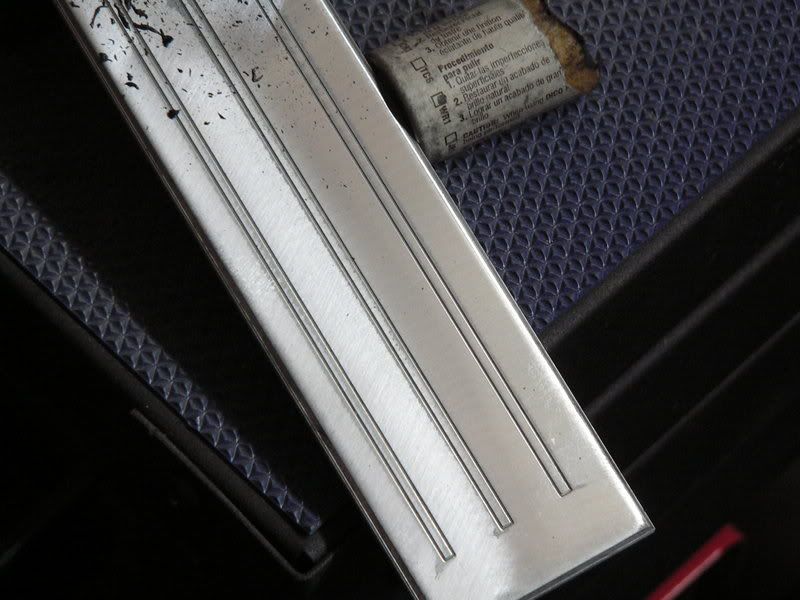
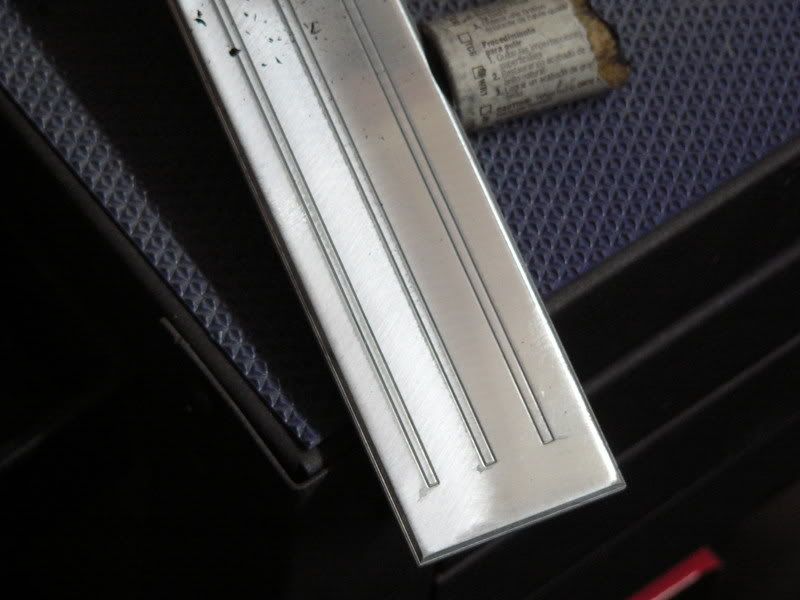
Sisal Wheel White Rouge:
Myself I go start too the wet-sand a 320 grit or count is a reasonable step. Some may take another step from there and go to a 400 grit.
Either way keep sanding with the grain so too speak, and yes metals can and do graining from the processing.
These will ease in remove the lines left by sanding once you hit the buffer, if going this route but by hand keep stepping up with the grit count the finer you get the less polishing will have too occur.
This picture shows the suspended particles of Aluminum, too ease the clogging effect these will have on your Wet-Sand paper use a drop of soap and rinse your paper often.
Buffer time;
Sisal Wheel Brown Rouge:
Sisal Wheel White Rouge:


